
 Pin it
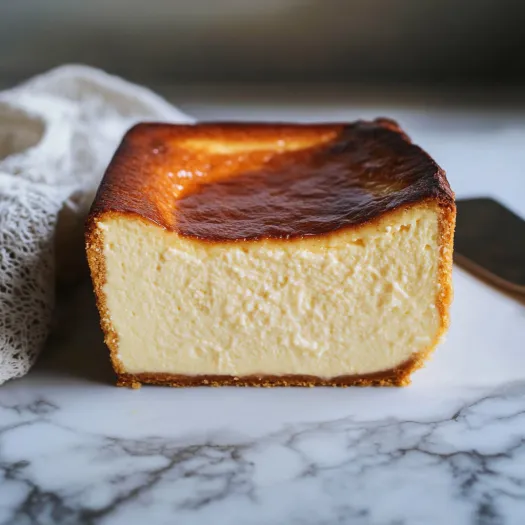
This old-world Basque cheesecake is crazy creamy with a deep caramel layer on top. It’s nothing like your classic American version—it skips messy water baths and crusts but gives you way more flavor and a softer, melt-in-your-mouth bite every time. Baking it in a loaf pan means every slice has a perfect combo of creamy middle and crisp caramel edges all the way through.
The first time I made one, I couldn’t believe I’d ever bothered with springform pans or water baths. It’s so easy to pull off, and the result feels luxe every time. The top browns on its own in the oven and looks super cool next to the pale creamy filling—this is now the dessert I reach for whether it’s a weekend treat or a special family dinner.
Key Ingredient Guide
Getting how each thing works together makes this Basque-style dessert so good. Go for full-fat, top-notch stuff for both taste and texture—it really makes a difference. The process is straightforward, so you don’t need to stress.
- All-purpose flour: Just a bit helps your cake keep shape, but doesn’t make things stiff. After sifting, measure it carefully for a smooth bite.
- Salt: Makes every other flavor pop and keeps things from being too sweet. Stick with fine sea salt or kosher for the best punch.
- Vanilla extract: Optional, but it gives a gentle warmth that works with the tangy cheese. Go for pure vanilla for the tastiest flavor.
- Heavy cream: Gives you that super silky texture you want. You’ll need the fattier kind to nail the right feel.
- Eggs: Act as a glue and keep things smooth. Let them warm up on the counter for better blending—large ones are best.
- Granulated sugar: Helps mellow out the tang and creates that caramel crust. Regular basic white sugar is all you need.
- Full-fat cream cheese: This forms the rich, tangy base. Don’t grab reduced-fat or soft tubs—stick to the blocks and let them warm up outside the fridge for half an hour before starting.
Simple Prep Steps
Stick to these super easy steps and you’ll hit creamy centers with crisp tops every time. Paying attention to the little things when you mix and bake gets you the dreamiest result.
- Perfect Bake Finish:
- Pop the loaded pan onto the center rack in your 400°F oven. Bake 40–45 minutes till the top is a deep, golden brown but the middle jiggles a bit when you nudge it. Look for that awesome contrast—crisp, caramelized sides with a lighter creamy center is what you want.
- Pan Set-Up:
- Grab a loaf pan and grease it lightly. Then, line with parchment so extra paper hangs over for a grab-and-go after it’s baked. Pour in your smooth mix and bang the pan a few times on the counter to shake out bubbles.
- Add the Flour:
- Sift the tablespoon straight over the bowl so you don’t get lumps. With a spatula, gently fold it through till there’s no dry spots left. This little bit keeps things creamy but not runny.
- Final Mix-Ins:
- Drizzle in your heavy cream, salt, and vanilla if you’re using it. Keep the mixer on low and just combine—don’t whip it up too much. You want it smooth with a bit of heft, not foamy.
- Eggs Go In:
- Break each egg into a bowl first (so no shell sneaks in) and toss them into your cheese mix one by one. Blend well after each—slow is better for a smooth batter.
- Base Blending:
- Mix the softened cheese and sugar in a big bowl using a hand mixer on low for five minutes till it’s fluffy and lump-free. Don’t forget to scrape down the sides every so often to catch stray bits.
- Start with Room Temp:
- Let all your cold stuff warm up on the counter first. The cheese blocks need about half an hour out—if you skip this, you’ll get a chunky batter and a less creamy cake.
 Pin it
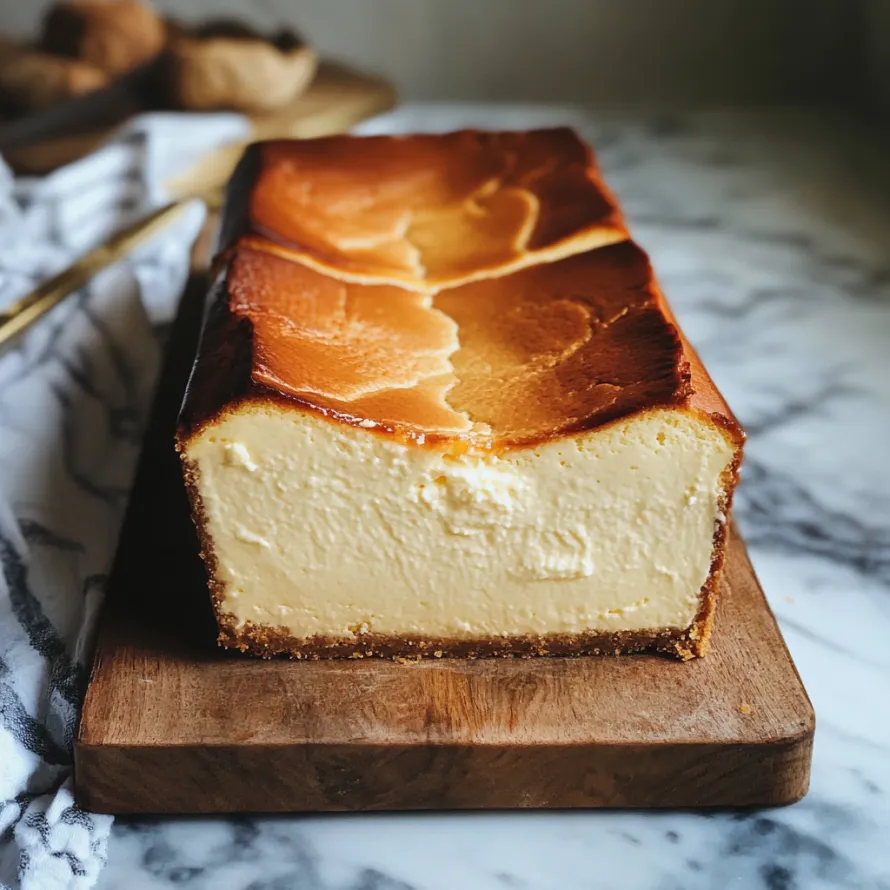
I got obsessed with Basque cheesecake after trying it at a tiny European bakery in my neighborhood. The baker told me the high heat gives it that signature caramel top which is the perfect match for the creamy filling. My family now makes it for pretty much every celebration. My kiddo even calls it 'fancy toast cheesecake' thanks to the awesome golden crust.
Tasty Ways To Serve
Let it chill out and cool off all the way before you cut it. Top with a handful of fresh berries, a little sprinkle of powdered sugar, or a drizzle of honey for a touch of class.
 Pin it
Easy Storage And Warming
Cover and stash extra in the fridge for up to 5 days. For long-term, wrap slices snug in plastic and freeze up to 3 months. Defrost in the fridge overnight when you’re ready to eat.
Frequently Asked Questions
- → Is it okay to use low-fat cream cheese for Basque cheesecake?
- Stick to regular cream cheese for that classic thick and rich feel. Using low-fat kinds will make your Basque cheesecake less creamy and more watery.
- → Do I really want that super dark top on Basque cheesecake?
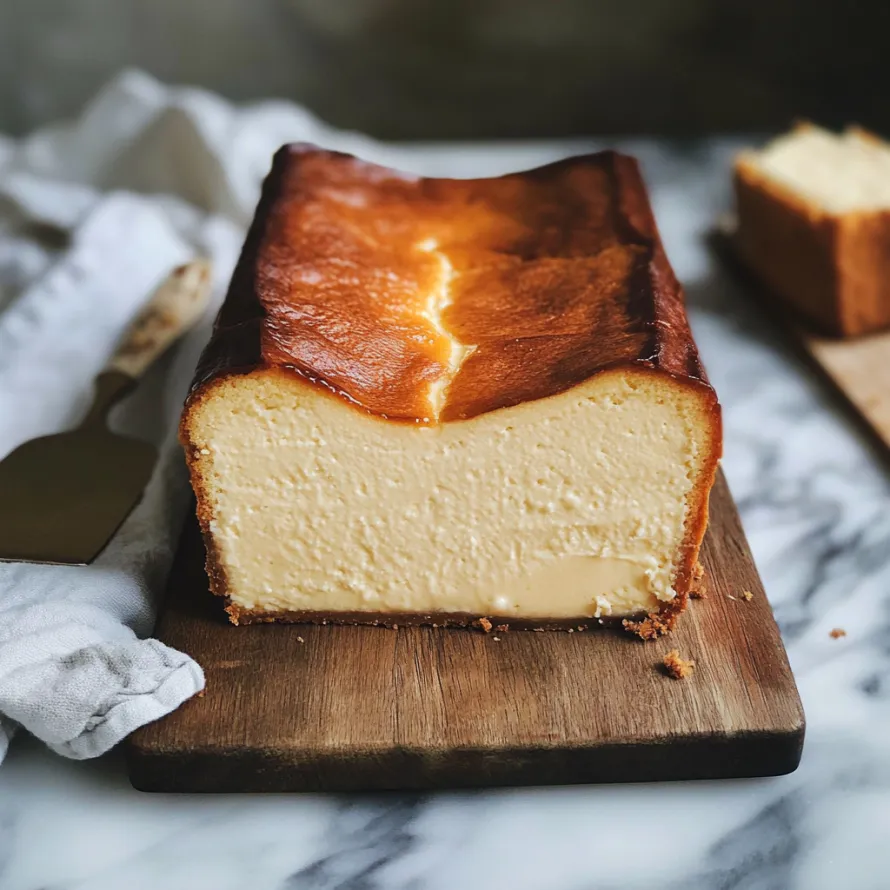
- That dark finish isn’t burnt—it’s that caramel top Basque cheesecake is known for. It bumps up the flavor and helps the middle set. Let it brown up for the best taste!
- → How do I check if my Loaf Pan Basque Cheesecake’s ready?
- Look for edges that are a deep brown, while the center is paler and wobbly—that’s perfect! Take it out and let the middle set as it cools down.
- → Is it possible to freeze Loaf Pan Basque Cheesecake?
- Totally possible! Cool it first, then wrap it in both plastic and foil. Freeze it, then let it thaw in the fridge before serving, up to 2 months later.
- → What’s special about Basque cheesecake compared to regular ones?
- This one gets a caramelized top, skips any crust, and comes out way creamier. It bakes hotter than most cheesecakes and loves it when the top cracks and splits.