
 Pin it
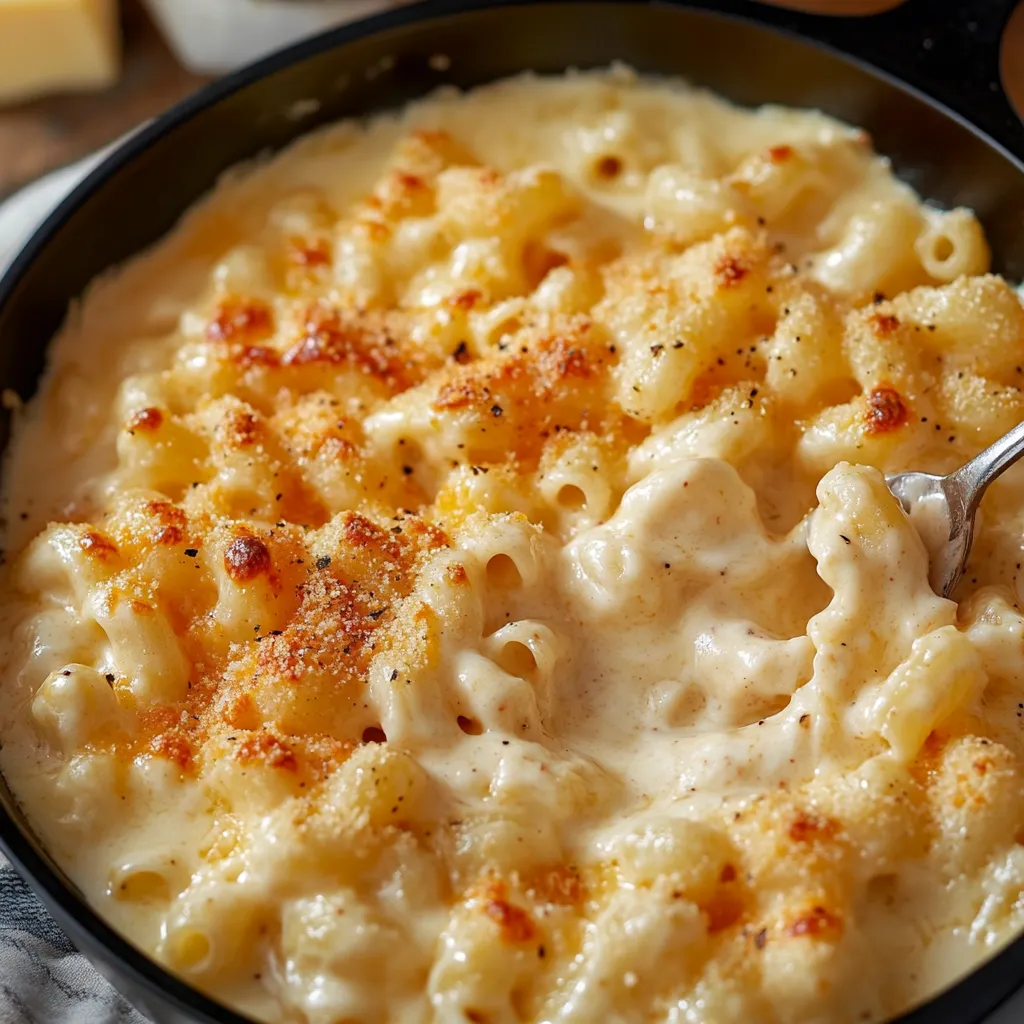
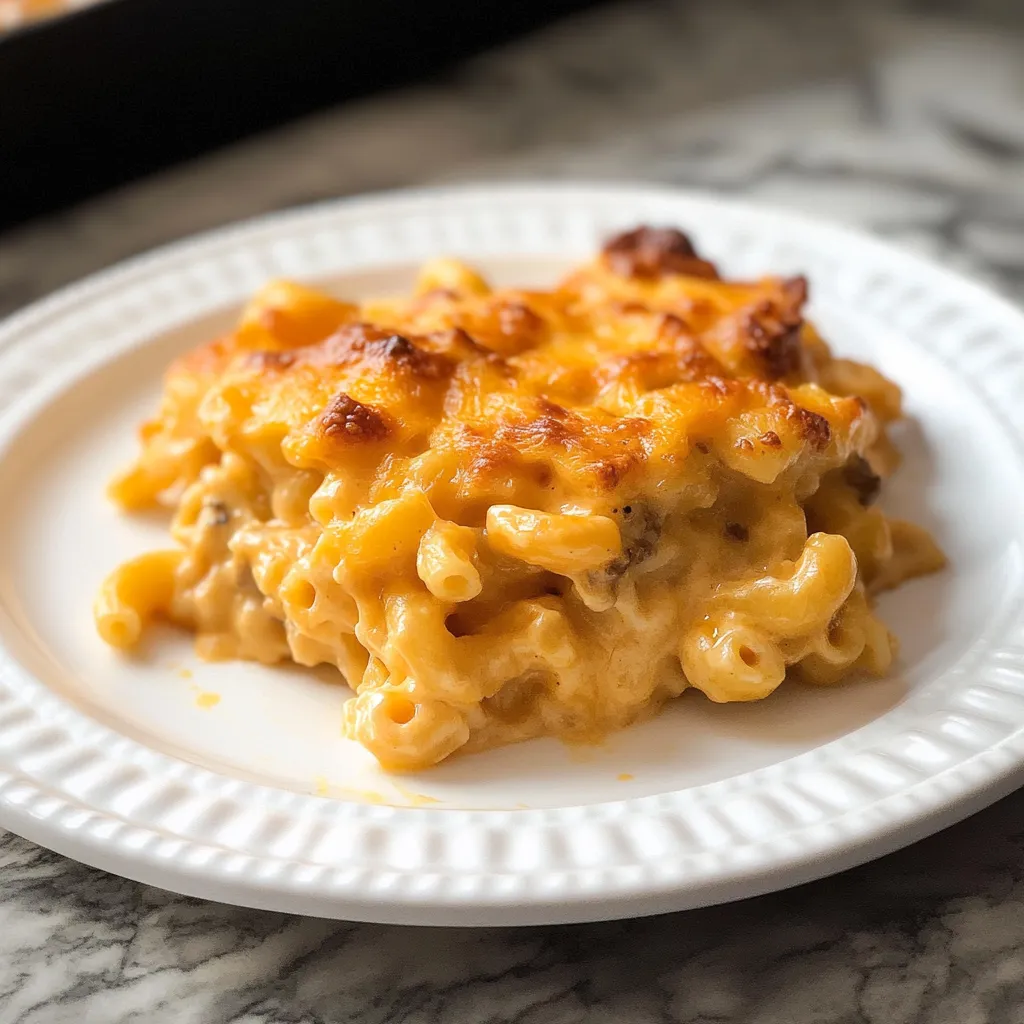
This melt-in-your-mouth combo of mozzarella, Colby Jack, and sharp cheddar turns ordinary spiral pasta into a mind-blowing dinner favorite that folks can't stop talking about. The humble corkscrew noodle gets totally transformed in this ultra-comfy dish, wrapped in silky sauce and topped with a crackling, golden lid that'll have everyone begging for another helping. What makes it special? The way we stack up those ingredients and nail that exact cheese mix, creating little pockets of stretchy, gooey heaven with every forkful.
I whipped this up at our family get-together last weekend, and my super-fussy nephew grabbed three servings! There's something about how that cheese sauce wraps around every twist of pasta that had the grown-ups scraping up every last bit from their plates too.
Key Dish Elements
- Cavatappi pasta: Those curly spirals catch all the sauce in their twists and turns
- Mozzarella cheese: Gives you those awesome cheese pulls when you dig in
- Colby Jack: Melts into this silky, buttery goodness throughout
- Sharp cheddar: Kicks in that rich, tangy bite that makes everything pop
- Butter: Sets up the base for our dreamy sauce
- All-purpose flour: Gets the sauce to just the right thickness
- Evaporated milk: Keeps everything smooth and velvety
- Heavy cream: Takes the richness to a whole new level
- Seasonings: Work together without stealing the cheese's spotlight
- Dijon mustard: Secretly boosts all those cheese flavors
Crafting Your Showstopper
- Pasta Preparation:
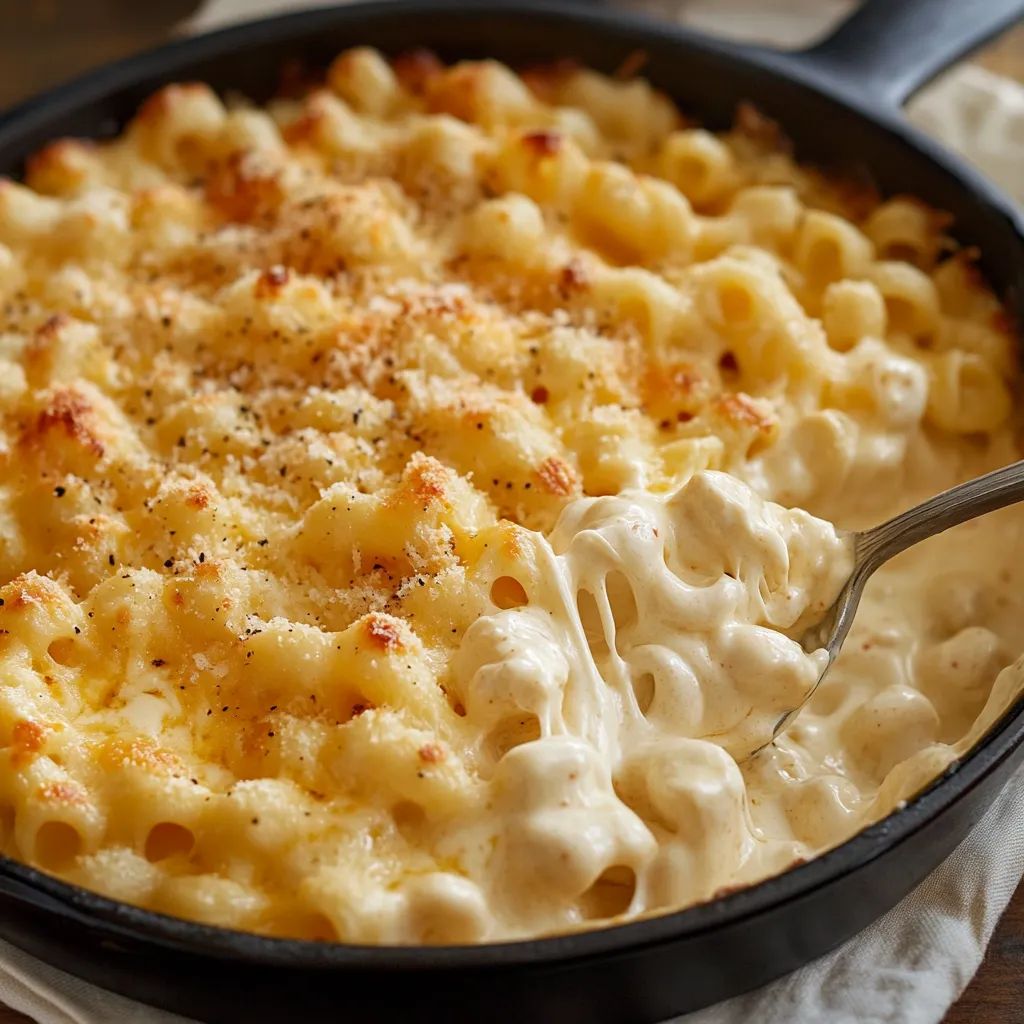
- Get a big pot of water bubbling hard. Toss in three tablespoons of salt until it tastes like ocean water. Drop the cavatappi in and cook till it's still a bit firm when you bite it, around 9 minutes. This timing means it'll finish cooking perfectly in the oven while soaking up all that cheesy goodness.
- Sauce Creation:
- Start by melting butter in a thick-bottomed pot over medium heat until you see tiny bubbles. Slowly dust in your flour while whisking non-stop to get a smooth mix. Wait for it to turn slightly golden and smell a bit nutty - that's your signal to move on. Pour in your room-temp evaporated milk in slow, steady pours, never stopping that whisk. Add your warmed heavy cream bit by bit, keeping up the whisking so you don't get any lumps.
- Cheese Integration:
- Turn the heat down low and start adding your freshly grated cheese mix a handful at a time. Stir in a lazy eight pattern and let each batch melt completely before adding more. This slow approach guarantees a silky-smooth sauce with no grainy bits.
- Final Baking Process:
- Make sure your oven's fully hot before sliding your creation into the middle rack. Peek through the oven window as everything starts to bubble and brown, creating that irresistible top layer. A quick blast under the broiler at the end gives you that picture-perfect crusty finish everyone will fight over.
 Pin it
My grandma always insisted on grating cheese by hand. I used to think she was just making extra work, but after tasting the velvety smoothness it creates, I'll never go back to the pre-shredded bags. Those few extra minutes of work completely change how the final dish turns out.
Tasty Companions
Balance out this rich dish with a fresh garden salad with tangy dressing. Try it next to some oven-roasted broccoli or green beans cooked with garlic for contrast. Wash it all down with some cool white wine or fizzy water with a lemon wedge to cut through the creaminess.
Mix It Up
Give this favorite a twist by mixing in some sweet browned onions and crunchy bacon bits between layers. Want some heat? Throw in chopped jalapeños and swap in some pepper jack. Make it fancy with chunks of crab meat or tender lobster pieces stirred in before it hits the oven.
Saving It For Later
Got leftovers? Pack them in an airtight container and they'll stay good in the fridge for about four days. When you want to reheat, splash in a bit of milk, cover with foil, and warm in a 325°F oven. Skip the microwave - it'll make everything weirdly rubbery and uneven.
 Pin it
I've tweaked this dish for years now, and I've learned that good ingredients and taking your sweet time are what makes it special. Seeing people's faces light up when they take that first bite makes all the work worthwhile. This isn't just another mac and cheese - it's comfort food that brings folks together, turning simple stuff from your kitchen into something that'll have everyone talking for days.
Frequently Asked Questions
- → Is mac and cheese prep possible ahead of time?
- Absolutely. Put it together up to a day before, cover, refrigerate, and just bake a bit longer when cold.
- → Should I use a specific pasta shape?
- Corkscrew pasta holds sauce perfectly, but elbows or small shells work well too.
- → Can I freeze leftovers or the dish itself?
- Definitely! Keep frozen for 3 months max. Defrost in the fridge overnight and heat extra during baking.
- → Why choose evaporated milk for this recipe?
- It gives the sauce richness you’ll love and keeps it silky without breaking when baked.
- → Do I need to broil it at the end?
- Not required, but a quick broil adds an unbeatable crispy layer. Just don’t leave too long!