Soft Homemade French Bread

Featured in: Bake Warm Breads and Pastries at Home

Easy and quick, this French bread is ready in an hour and a half, ideal for last-minute meals or busy evenings. It makes two loaves with a soft middle and golden crust. Pantry staples—flour, water, yeast, salt, sugar, and olive oil—make the dough simple to prep. Shape the bread for that classic French loaf feel without any fancy tools. You can tweak the crust for a softer or crispier finish and freeze extra bread for up to 3 months. Great for sandwiches, pasta sides, or warm buttered slices.
A woman with blonde hair and a white shirt smiles at the camera.
Updated on Sat, 03 May 2025 12:54:24 GMT
Sliced golden French bread on a table. Pin it
Sliced golden French bread on a table. | tastefullyrecipe.com

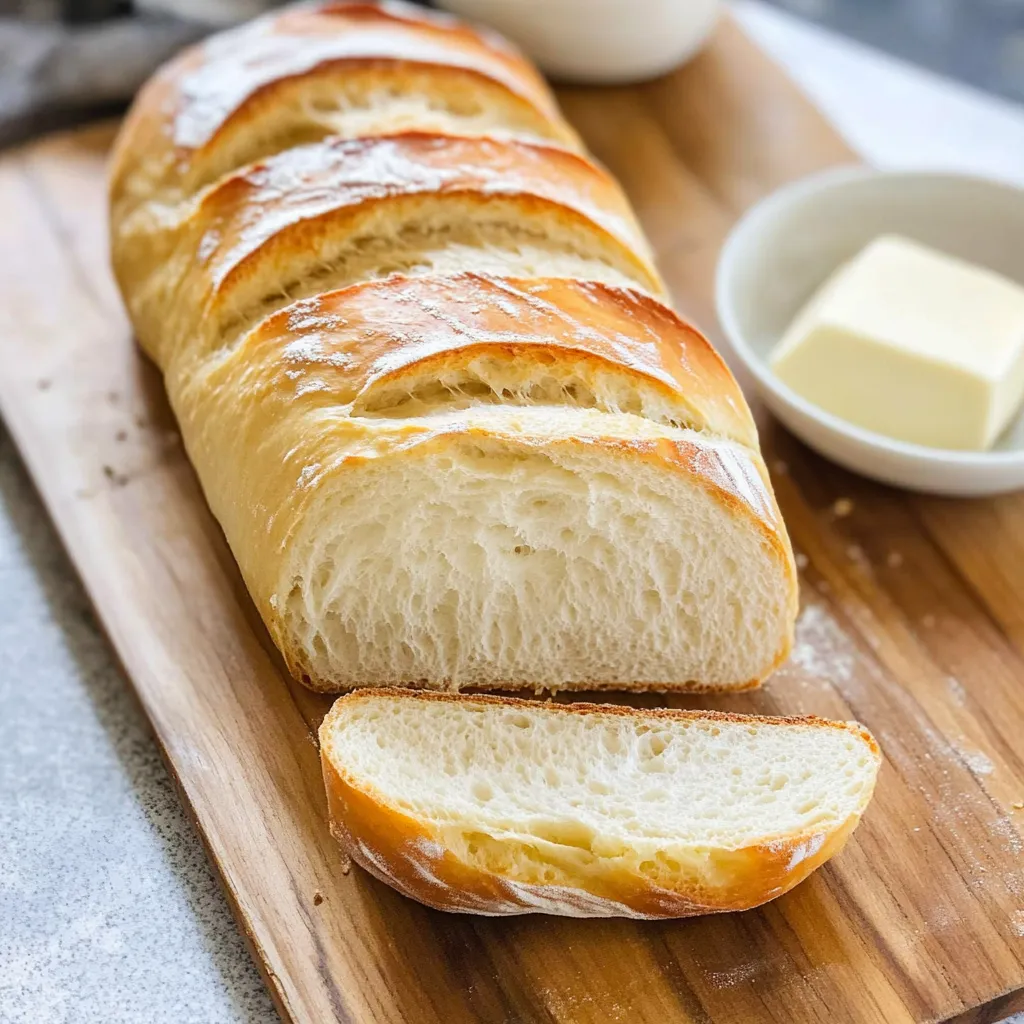
Nothing beats the smell of homemade French bread filling your home. This bread gives you that amazing mix of crunchy outside and soft inside that makes any dinner feel special. I've spent years tweaking this 90-minute approach in my kitchen, and honestly, it turns out bread that's just as good as what you'd buy from your neighborhood bakery.

The first time I baked this bread, my family huddled around the counter, tearing off warm chunks and watching them steam. Seeing their happy faces convinced me there's something magical about homemade bread that you just can't get from store-bought loaves.

Complete Ingredients Breakdown

  • Bread flour: Has more protein than regular flour, giving you that chewy texture and firm crust that makes French bread so special
  • Active dry yeast: The key to making your dough rise, always grab fresh packets for the best results
  • Warm water: Must be around 110°F to wake up the yeast without damaging it, helping your dough rise properly
  • Fine sea salt: Brings out all the flavors and helps control how the yeast works, creating that perfect texture inside

Making Your Fantastic Loaf

Yeast Activation:
Mix 110°F water with yeast and a tiny bit of sugar in a clear bowl. You'll know it's working when it turns bubbly and smells like bread starting to form.
Initial Mixing:
Slowly add flour to your bubbly yeast mixture, waiting until each scoop disappears before adding more. You'll start to see your dough taking shape right before your eyes.
Dough Development:
Knead with steady, even movements, feeling the dough change from rough to silky smooth. As you work, it'll get stretchier and less sticky as the gluten forms.
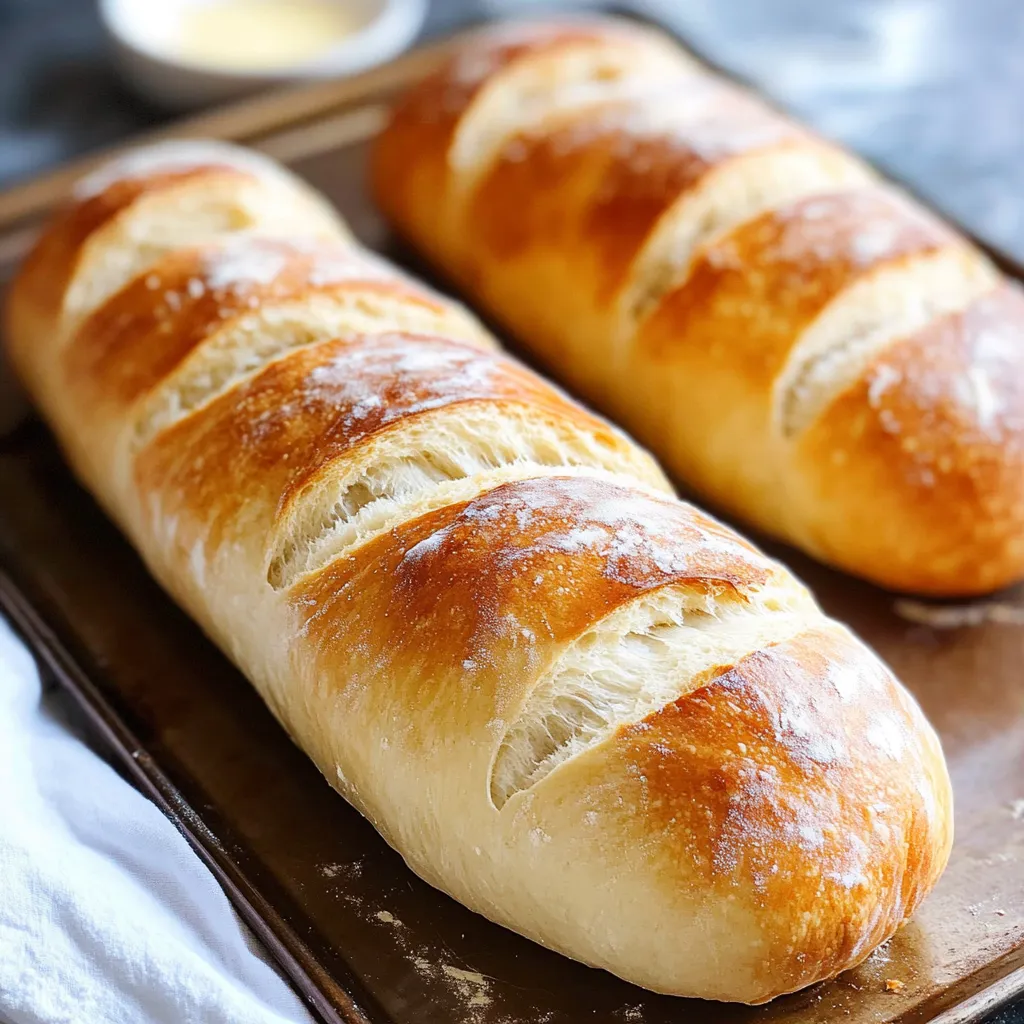
Shaping Process:
Cut your dough in half and roll each piece into a tight log shape. Pull the surface tight as you roll to make sure it rises evenly and looks professional.
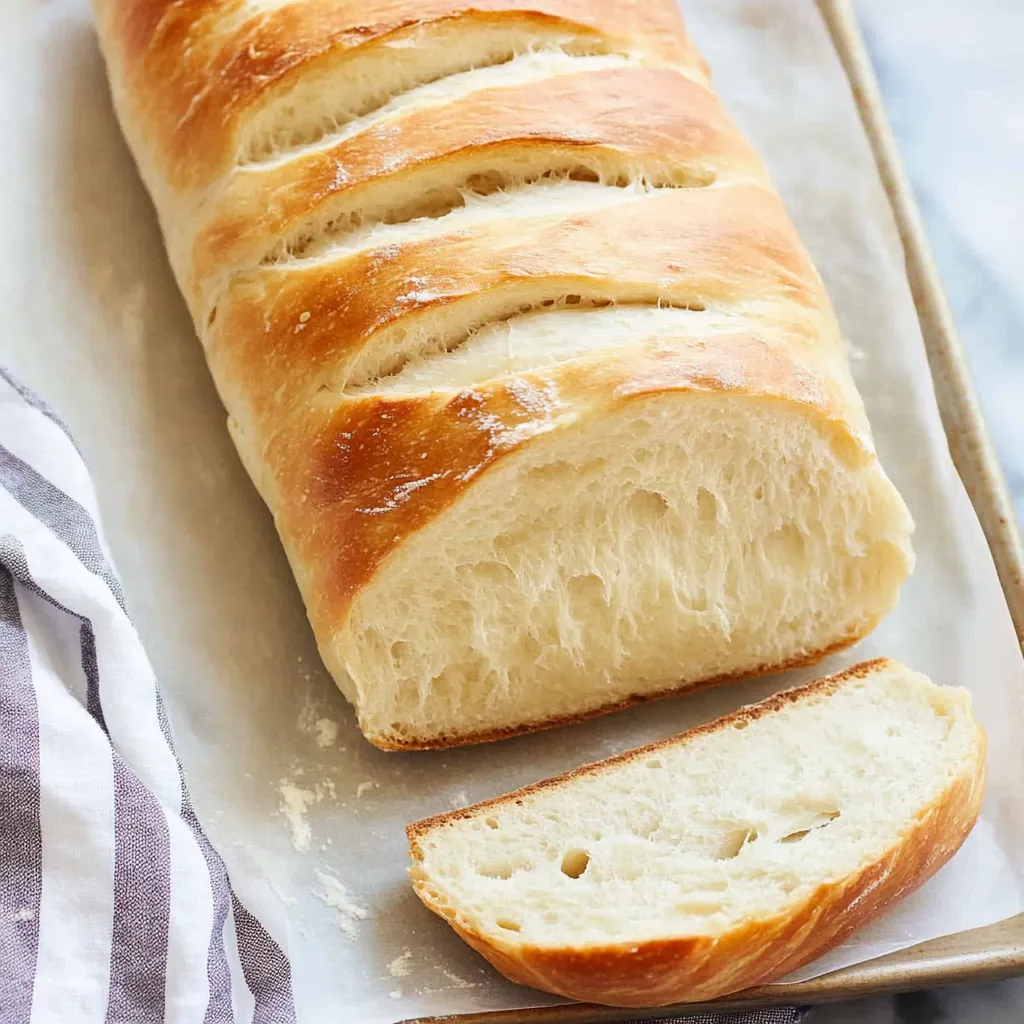
Final Touches:
Make clean slashes across the top so the bread can grow properly while baking. Spray a bit of water on the surface to help create that perfect crust.
Two loaves of bread on a tray, ready to be baked. Pin it
Two loaves of bread on a tray, ready to be baked. | tastefullyrecipe.com

My grandma taught me to knock on the bottom of bread loaves when I was little, showing me how to listen for that empty sound. This simple trick has worked every single time and makes me feel connected to all the bread makers in my family before me.

Tasty Ways To Enjoy Your French Bread

Your fresh-baked loaf can become so many different meals. Cut thick slices for awesome sandwiches, chop it into squares for crunchy croutons, or serve it with a hot bowl of soup. Each way of eating it brings out something special about the bread.

Putting Your Own Twist On It

Try mixing in some herbs de Provence for extra flavor, or use part whole wheat flour to make it healthier. You can shape it into round loaves instead of long ones, or make small dinner rolls that everyone at the table gets to enjoy.

Keeping Your Bread At Its Best

Put your bread in a paper bag on the counter for up to two days to keep that perfect crust. If it gets a bit stale, just sprinkle some water on it and warm it in the oven at 350°F for about 5-10 minutes to bring it back to life.

A loaf of bread is cut into slices and placed on a tray. Pin it
A loaf of bread is cut into slices and placed on a tray. | tastefullyrecipe.com

After making this bread countless times, I've learned that waiting is really the secret ingredient. Taking time for the dough to rise fully and fighting the urge to cut into hot bread always makes the end result better. This isn't just a recipe anymore. It's become a way to honor tradition, practice good technique, and enjoy the pure joy of sharing something homemade with people I care about.

Frequently Asked Questions

→ Is a stand mixer required for this bread?
Not at all! You can make it by hand with a large mixing bowl and knead it on a floured counter for about 8-10 minutes till it's smooth.
→ How do I know it's baked enough?
When the crust looks golden and tapping the loaf's bottom makes a hollow sound, it's ready! For precision, check if the inside hits 190°F with a thermometer.
→ What went wrong if my bread didn't rise?
Your water may have been too hot or your yeast could be old. Keep the water around 105°F and ensure your yeast is fresh for best results.
→ Can I add extras like herbs or cheese?
Sure! Mix 1-2 tablespoons of dried herbs like rosemary or thyme for flavor. For cheese, fold in 1 cup of shredded gruyère or parmesan after the first rise.
→ How do I reheat leftover bread to keep it fresh?
Sprinkle it with a little water, wrap in foil, and warm up in a 300°F oven for 5-10 minutes. This keeps it soft inside and crisp outside.

Homemade French Bread

Soft inside and crispy outside, this French bread comes together in 90 minutes and is oh-so-easy to make!

Prep Time
70 Minutes
Cook Time
20 Minutes
Total Time
90 Minutes
By: Patricia


Difficulty: Intermediate

Cuisine: French

Yield: 32 Servings (2 loaves)

Dietary: Vegetarian

Ingredients

→ Dough Needs

01 About 105°F warm water, 2 cups
02 1 tsp olive oil
03 2 ½ tsp fine sea salt or table salt
04 Granulated sugar, 2 ½ tsp
05 1 packet (1 Tablespoon) active dry yeast
06 All-purpose or bread flour, 5 cups (650 g), plus some extra for dusting

→ Final Add-ons

07 Optional: Melted butter (salted)

Instructions

Step 01

Combine yeast, sugar, and warm water in a small dish. Leave it for a few minutes (about 5) until it foams up—that's proof your yeast is alive.

Step 02

In a large bowl (or stand mixer with the paddle attached), blend 2 cups of your flour with the salt. Pour in the activated yeast mixture and stir until combined. Gradually add 1/2 cup of flour at a time, mixing on medium-low speed if using a mixer. Stop once the dough is smooth and just slightly tacky. You may need slightly more or less than 5 cups of flour, depending on your kitchen's humidity.

Step 03

Coat the dough ball lightly in olive oil so it doesn't dry out. Cover your bowl with a clean kitchen towel and set it aside somewhere warm. Let it sit for 15-30 minutes, or up to an hour if you’ve got time—the longer the rest, the happier the dough!

Step 04

Dust a sturdy surface with some flour, then tip your dough out onto it. Use a knife or bench scraper to divide the dough in half. Take one piece and roll it out into a rectangle, about 15 inches long. Then, starting at a long side, roll it tightly into a log shape. Pinch the seams along the edge and tuck the ends under. Repeat with the other half, then place both loaves seam-side down on a baking tray.

Step 05

Grab a sharp knife and make three slashes diagonally across each loaf's top—this helps the bread puff and look great while baking. Cover both with a clean towel again and leave for 30-60 more minutes. If there’s time, let them rise closer to an hour.

Step 06

Set your oven to preheat at 400°F and get your baking tray ready with a liner (parchment paper or a silicone mat works). Bake the bread for 17-23 minutes until it turns beautifully golden on top. Want to check doneness? Tap the top—it should sound hollow. If the crust starts browning too fast, tent with foil and drop oven temp to 375°F to finish baking.

Step 07

For some rich flavor, brush your fresh-from-the-oven loaves with melted butter. Slice, dig in, and enjoy the warm, comforting taste of homemade bread.

Notes

  1. Want a crusty and shiny finish? Use a whisked egg white with a little water to brush over the loaves just before baking. For a crunchy crust, toss a handful of ice cubes into your hot oven to create steam—bread loves it!
  2. To keep the bread’s texture right, store in a plain brown bag on your countertop after it cools.
  3. Freeze leftovers after cooling completely. Wrap in an airtight storage bag (best to freeze unsliced) and use within three months. To refresh, thaw at room temp overnight, then warm in a 300°F oven for about 5 minutes.

Tools You'll Need

  • Mixer with paddle option (or very large mixing bowl)
  • Baking tray
  • Lining material like parchment paper or a silicone sheet
  • Clean towel
  • A sharp-edged knife

Allergy Information

Please check ingredients for potential allergens and consult a health professional if in doubt.
  • Wheat/gluten is included
  • Dairy is in the optional butter

Nutrition Facts (Per Serving)

It is important to consider this information as approximate and not to use it as definitive health advice.
  • Calories: 92
  • Total Fat: ~
  • Total Carbohydrate: ~
  • Protein: ~