
 Pin it
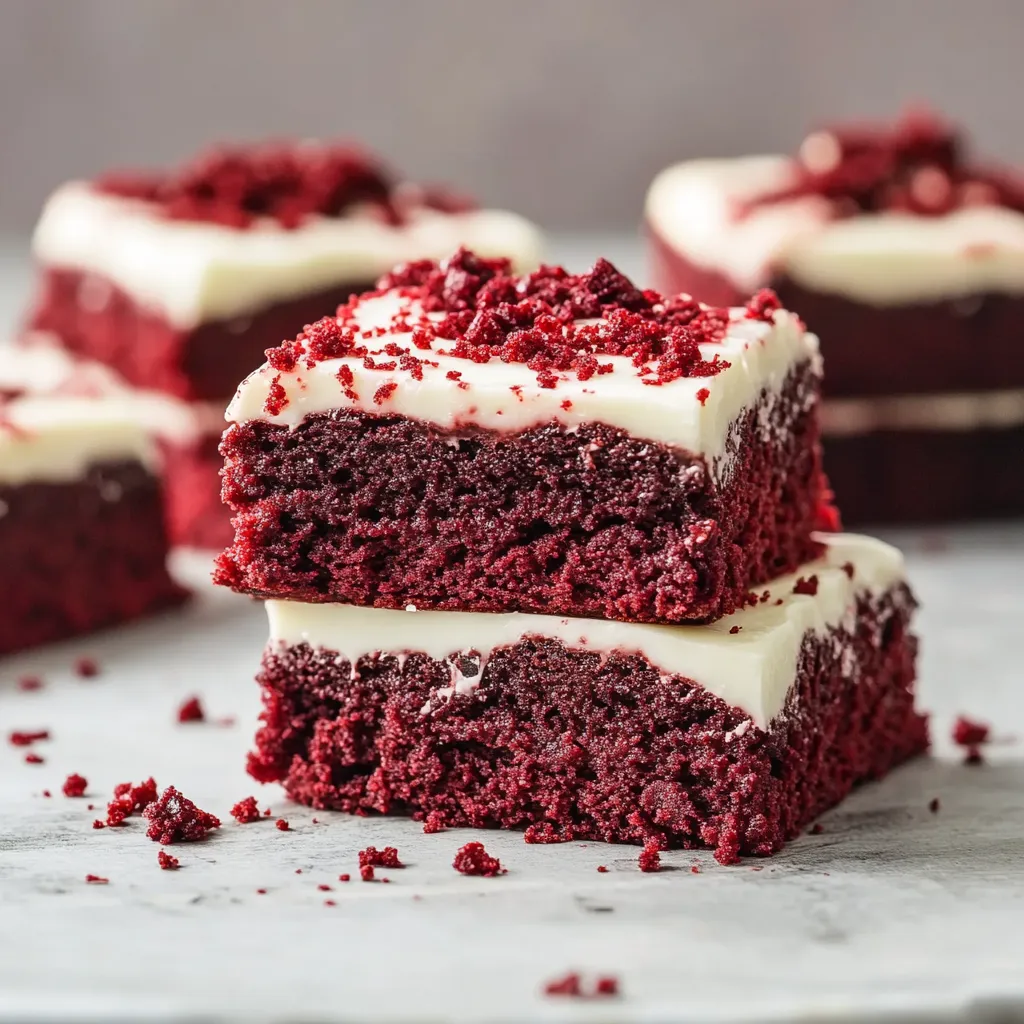
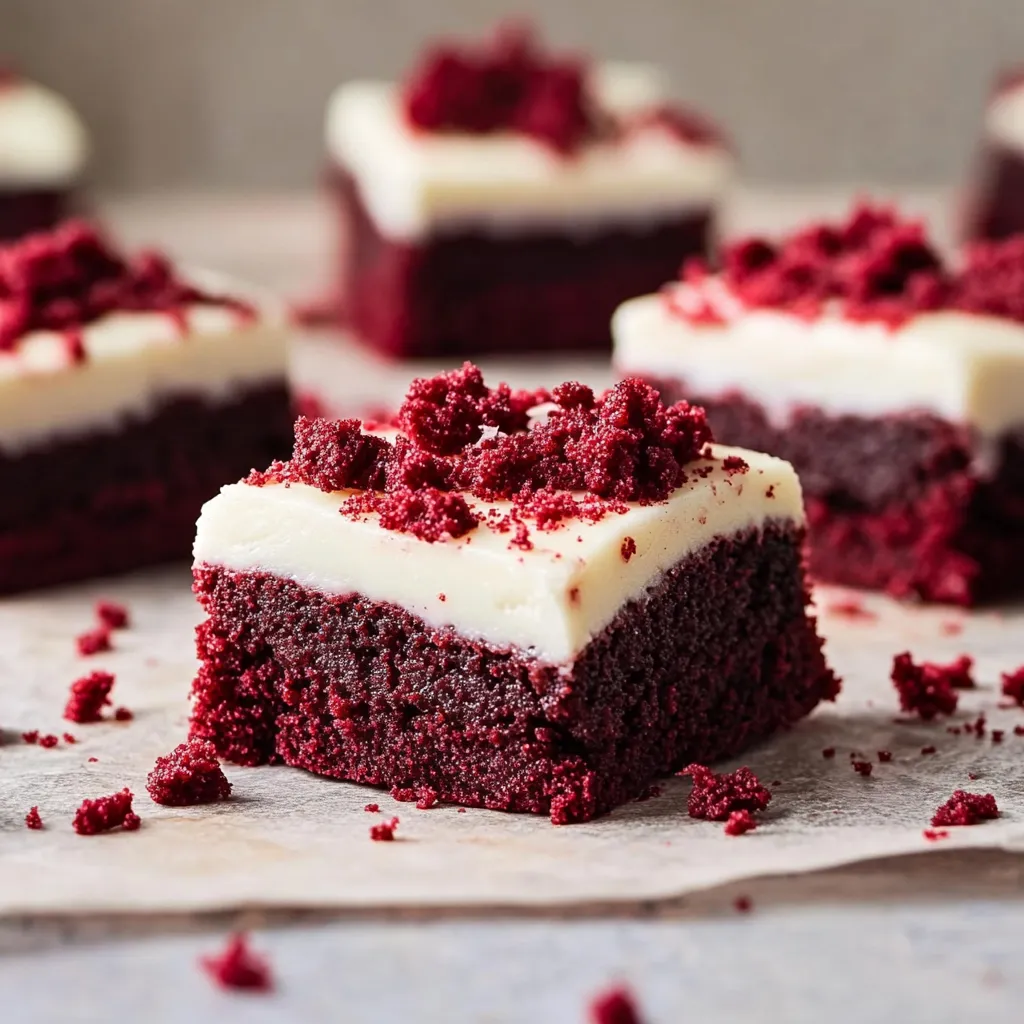
These Red Velvet Brownies marry gooey chocolate brownie texture with classic red velvet flavor in a truly mouthwatering treat. The rich crimson mixture bakes into decadent squares topped with smooth cream cheese frosting that perfectly complements each chocolatey bite. They capture red velvet's charm in a handy, grab-and-go dessert that's fancy enough for celebrations but simple enough for everyday indulgence.
I've baked these brownies so many times for family get-togethers and they always bring smiles around the table. My niece loves helping me mix the food coloring into the batter and watching the magic happen right in front of us.
Key Ingredients Breakdown
- Unsalted butter: Builds a buttery base and lets you control how salty your brownies turn out
- Light brown sugar: Adds hints of caramel flavor and keeps everything moist
- Dutch process cocoa powder: Gives a richer chocolate taste and makes the red pop more
- Cornstarch: The secret to getting that perfect chewy bite
- White vinegar: Brings out the red color and adds that classic red velvet zip
- Red gel food coloring: Creates that wow-factor color without making the batter runny
- Cream cheese: Go with full-fat for the creamiest, most stable topping
My grandma always told me to use ingredients straight from the fridge won't work, especially for cream cheese frosting. Every batch I make proves she was totally right.
Crafting Your Red Velvet Delight
- Getting Ready:
- Set your oven rack in the middle and heat it to 350°F.
- Prepping Your Pan:
- Put parchment in your pan with extra hanging over the sides for easy lifting later.
- Starting Your Mix:
- Stir melted butter with both sugars until they look shiny and blend together.
- Adding Eggs:
- Mix in eggs and yolk one after another, making sure each is totally blended.
- Making It Silky:
- Add vanilla and oil, stirring until everything looks smooth as silk.
- Cocoa Time:
- Sift your cocoa right into the bowl and mix it all together.
- Adding Color:
- Mix bright red color with a bit of batter to make a paste.
- Combining Dry Stuff:
- Gently fold in the rest of your dry ingredients with careful motions.
- Final Touch:
- Stir in the vinegar just enough to mix it in.
 Pin it
Mastering Baking Times
Getting these brownies just right means watching them carefully. Look for edges that start pulling away from the pan while the middle still wobbles slightly. This gives you that amazing fudgy texture everyone loves. Learning to spot these signs takes some practice but you'll get the hang of it after a few batches.
Tasty Serving Ideas
Make a fancy dessert plate with these brownies next to fresh berries and mint leaves. The fruit really brings out the chocolate flavor. For something extra special, warm up a square and put a scoop of vanilla ice cream on top. During the holidays, I love setting them on a cake stand with other red velvet goodies to create a themed display.
Make Them Your Own
- Try mixing white chocolate pieces into the batter before you bake them
- For some crunch, throw in some toasted pecans or walnuts
- Save some cream cheese mixture to swirl through the batter for a pretty pattern
- My family loves them with a tiny sprinkle of sea salt on the frosting for that sweet-salty combo
Keeping Them Fresh
Keep these treats in a sealed container with parchment paper between layers so the frosting stays pretty. They'll stay fresh in the fridge for about five days. Let them sit out for 15 minutes before eating to get the best texture. If you want to make them ahead, you can freeze the unfrosted brownies for up to three months if you wrap them well.
 Pin it
These brownies have become my go-to dessert for family parties and special events. They hit that sweet spot between homey comfort food and fancy dessert, making them just right for any occasion. Whether I'm serving them at a casual coffee date or a fancy dinner party, people always smile and ask for the recipe. The mix of rich chocolate, slight tanginess, and creamy topping creates something truly memorable that people talk about long after they've eaten the last piece.
Frequently Asked Questions
- → What happens if I don’t use food coloring?
- You can totally skip it. Your brownies will taste the same, but they’ll miss that red velvet look.
- → How do I check if they’re baked right?
- Poke the middle with a skewer; you want some moist crumbs to stick. If it’s entirely clean, they’re a bit overdone.
- → Can I put these brownies in the freezer?
- Yep, they freeze nicely for about 3 months. Wrap them tightly unfrosted, then add frosting after they thaw.
- → Why is my frosting runny?
- This happens if the butter or cream cheese got too warm. Keep them cool but not rock-hard before mixing.
- → Where’s the best place to keep these brownies?
- Pop them in a sealed container in the fridge for about 5 days. Let them warm up a little before you eat.