
 Pin it
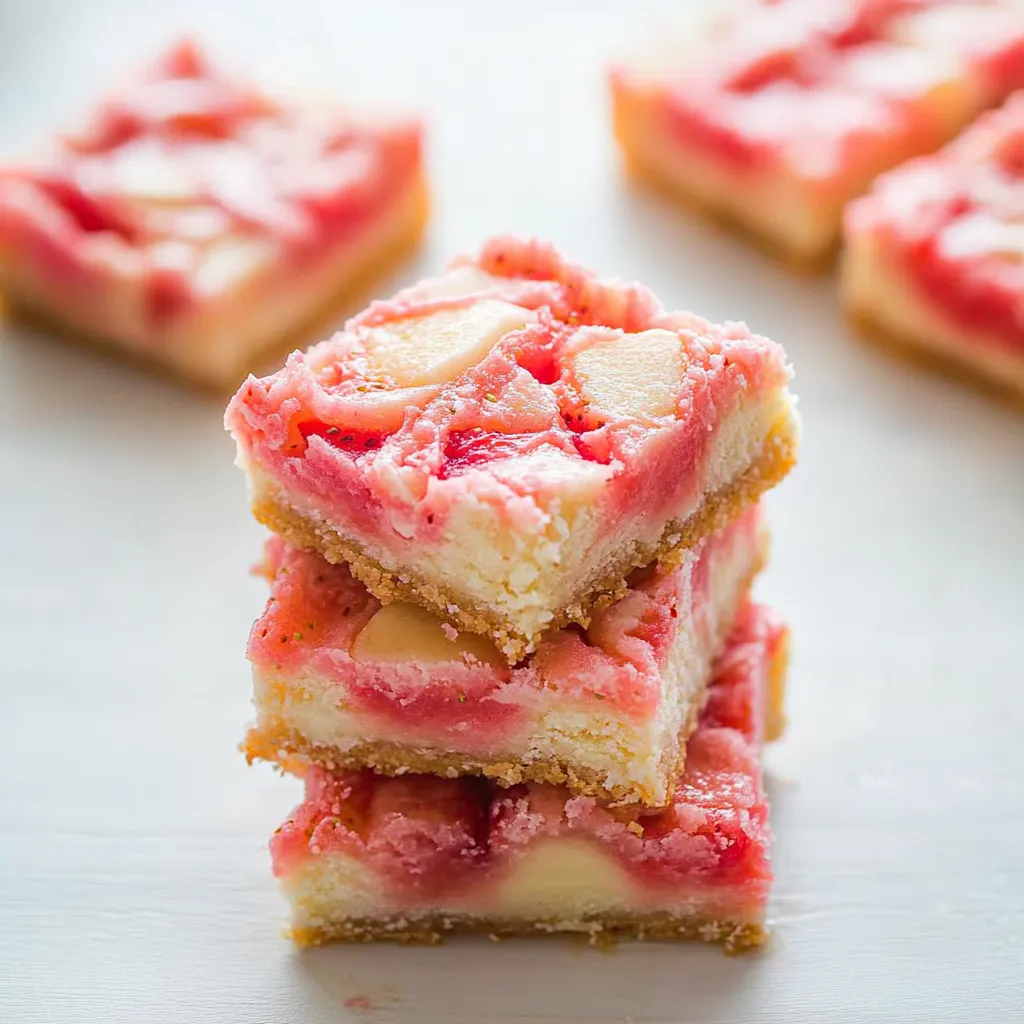
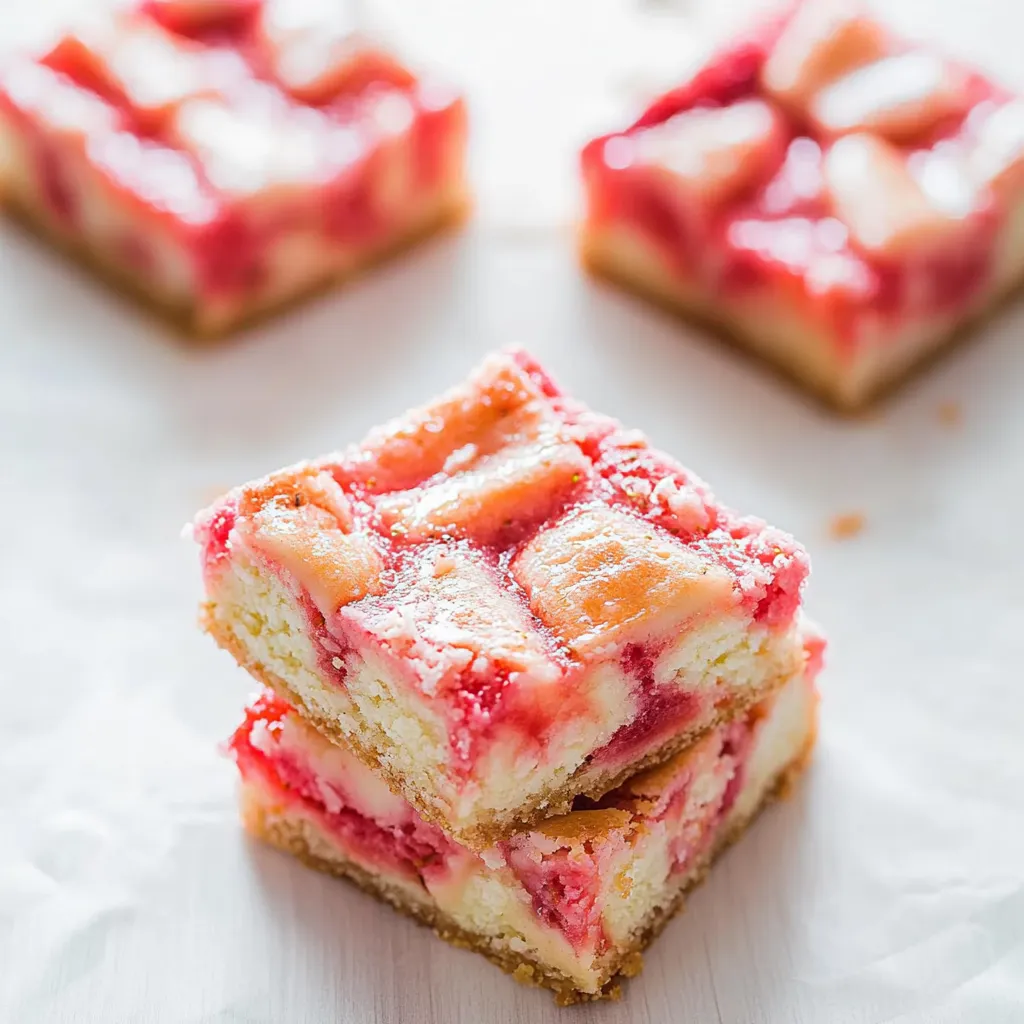
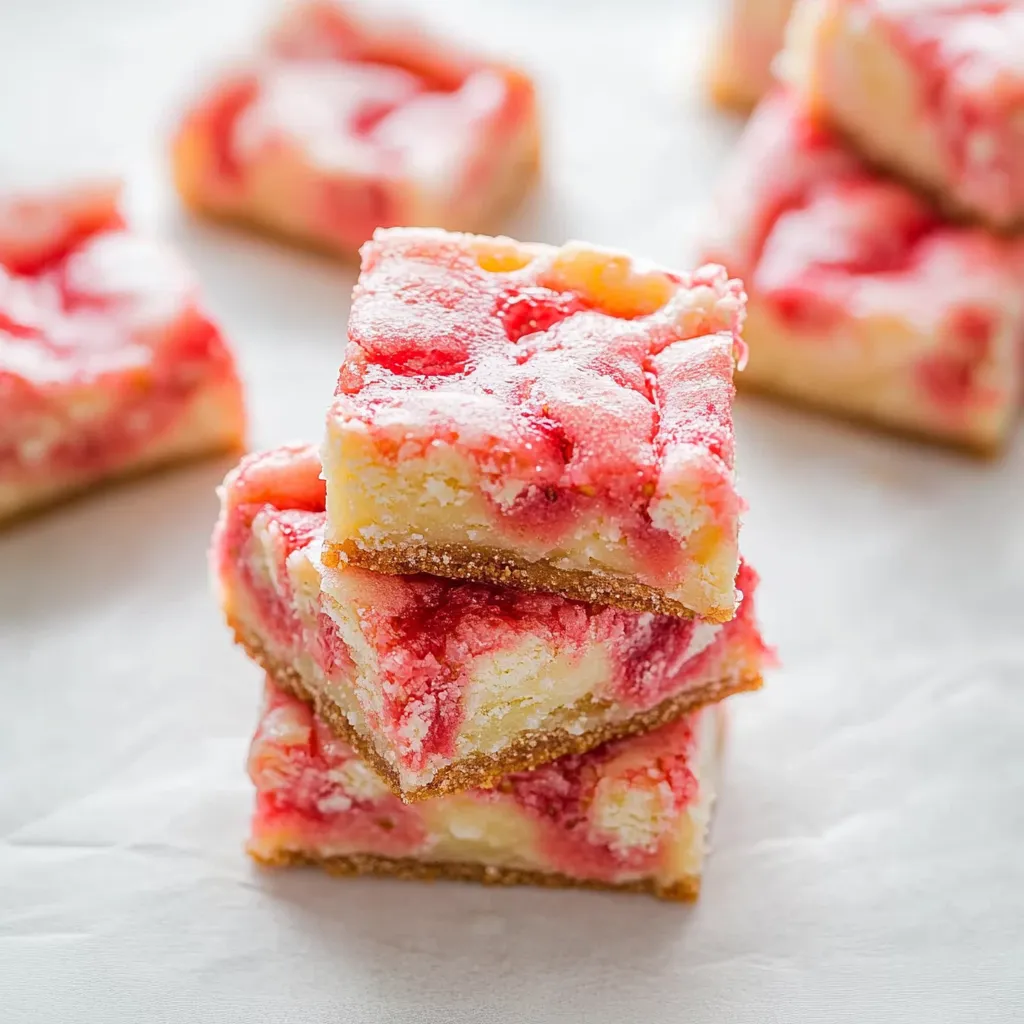
Turn a basic strawberry cake mix into the softest, chewiest dessert bars you've ever tasted. These Strawberry White Chocolate Gooey Bars blend a sweet strawberry base with melty white chocolate and rich condensed milk for a treat that's somewhere between a dense brownie and an ooey-gooey delight. You won't be able to stop at just one!
The first time I baked these for my kid's school fundraiser, they sold out before anything else. There's something about their pretty pink color and the amazing smell that fills your home while they're in the oven that folks can't resist.
Simple Ingredients Needed
- Strawberry cake mix: This gives you that beautiful color and strawberry flavor base. Go for a good brand for tastier results
- Unsalted butter: Make sure it's soft before you start, so it mixes in properly
- Large egg: This holds everything together and makes the bars nice and rich
- White chocolate chips: They add little pockets of creamy sweetness throughout
- Sweetened condensed milk: The magic ingredient that creates that gooey middle and shiny top
How To Make Them
- Get Ready:
- Turn your oven on to 350°F and put parchment in your pan with extra hanging over the sides for easy lifting later.
- Start With Butter:
- Beat your softened butter until it looks fluffy and light, which takes about 2 minutes.
- Mix Your Dough:
- Add the cake mix and egg to your butter and mix until you get a thick dough that sticks together.
- First Layer:
- Push half the dough flat into your lined pan, making sure to cover all the corners.
- Add Some Sweetness:
- Scatter white chocolate chips all over the dough layer, making sure they're spread out evenly.
- Pour The Good Stuff:
- Drizzle condensed milk over the chips, covering about 60% of the surface in a slow stream.
- Top It Off:
- Drop small pieces of the leftover dough on top in a random pattern so some of the gooey filling can bubble up between.
 Pin it
In our house, the white chocolate chips are the star. My youngest always picks through the pan looking for pieces with extra chips, saying they're definitely the tastiest parts.
Tasty Serving Ideas
These bars taste amazing with some fresh strawberries on the side and a cold glass of milk. They're also great on dessert plates or packed into holiday treat boxes as gifts.
Switch Things Up
Try milk chocolate instead of white chocolate for a taste like chocolate-dipped strawberries. You can also play around with different cake mixes – vanilla or chocolate work really well too.
Storage Tips
Keep your bars in a sealed container on the counter for up to 5 days. Put some wax paper between layers so they don't stick together and stay fresh longer.
 Pin it
Making these bars has turned into one of my favorite baking rituals. There's something so satisfying about taking a few simple items and turning them into something so incredibly yummy. I love watching people's eyes light up when they take their first bite - it makes the whole process worthwhile.
Frequently Asked Questions
- → Can I swap fat-free condensed milk for regular?
- Sure, regular condensed milk works just fine. The fat-free version is just a lighter option, but both will give you great results.
- → Why let them cool for so long?
- This cooling time lets the condensed milk firm up, so the bars hold their shape when sliced. It also makes them easier to handle.
- → Is it okay to freeze these bars?
- Absolutely! Freeze them in an airtight container for up to three months. Just let them come back to room temperature before eating.
- → What if my dough doesn’t stick together?
- Keep mixing! It might take a few minutes longer, but the soft butter will eventually make the dough smooth and sticky.
- → Why use foil to line the pan?
- The foil makes it easy to lift the bars out when they're done. Plus, you won't have to worry about scrubbing the sticky mess afterward.