
 Pin it
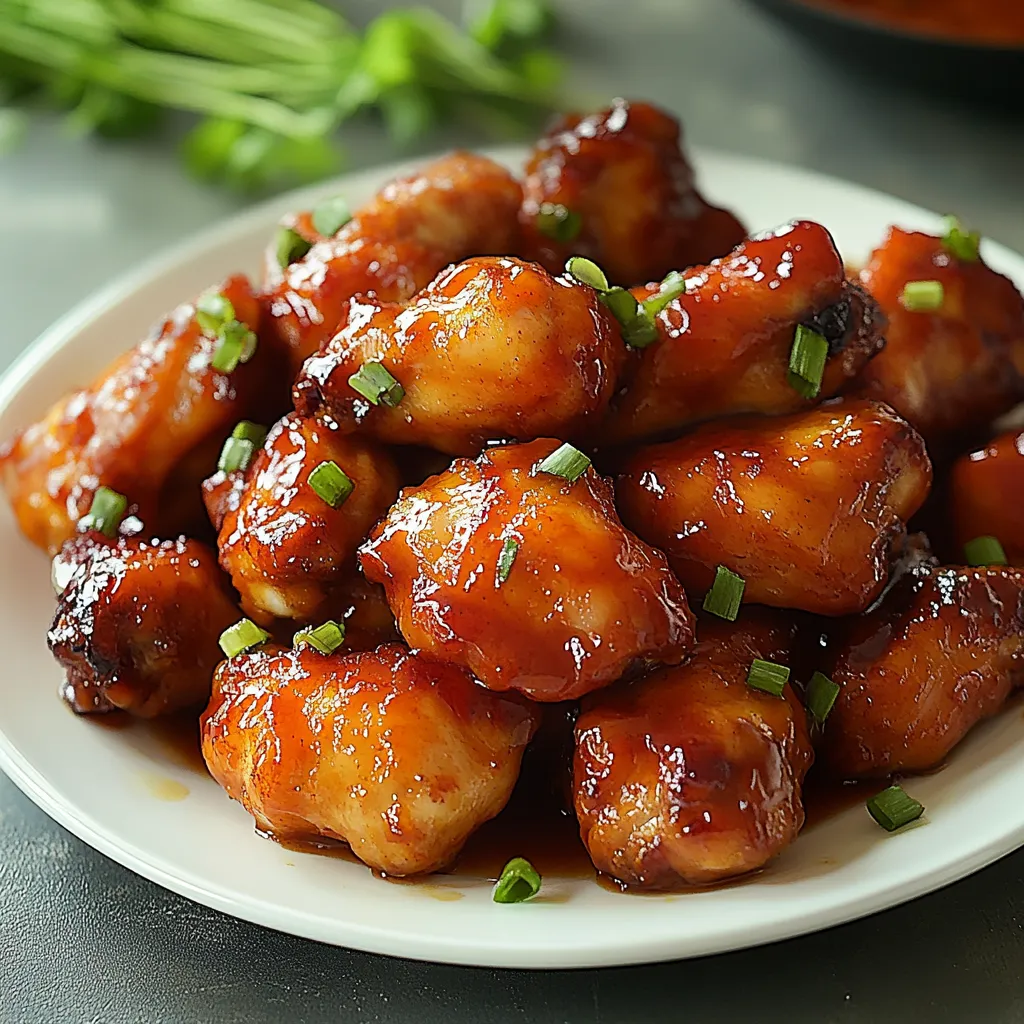
The tantalizing smell of homemade sweet and sour chicken bubbling away in the oven brings back so many family dinner memories. My kitchen version turns a popular takeout favorite into something way more amazing, featuring juicy chicken chunks wrapped in a perfectly balanced sauce that browns nicely while baking. You'll end up with a meal that tastes like it's from your favorite restaurant but has all the goodness of cooking at home.
I've made this dish so many times now, and it's become what my family asks for most on weekends. The way the sauce gets thick and coats each chicken piece during baking makes an amazing candy-like layer that nobody can resist going back for more.
Key Components For Outstanding Results
- Chicken breasts: They offer a clean protein foundation that gets super tender while baking. Try to find pieces that are all about the same size so they cook evenly
- Cornstarch: This gives you that characteristic light, crunchy layer. Make sure it's not too old, since stale cornstarch won't thicken properly
- White vinegar: Adds that must-have tanginess - you can swap in rice vinegar too for a gentler sour touch
- Fresh garlic and ginger: They pump up the sauce with real Asian tastes. Chop them right before you start for the strongest flavor punch
Crafting Your Sweet and Sour Delight
- Get Your Chicken Ready:
- Start by slicing your chicken into equal 1-inch chunks so they'll cook the same. Wipe them totally dry with paper towels—this really matters for getting that golden outside.
- Prepare Your Coating Area:
- Make your coating setup with one bowl of seasoned cornstarch and another with whisked eggs. Working step by step, dip each chunk first in cornstarch, then in egg.
- Warm The Oil:
- Get your oil hot until it's glistening but not smoking. A test bit of chicken should gently sizzle when dropped in.
- Make Chicken Golden:
- Cook the chicken in small groups, giving each piece plenty of room to get that important golden crust.
- Mix The Sauce:
- While your chicken browns, stir your sauce ingredients until all the sugar melts away.
- Put In Baking Dish:
- Move the chicken to your baking dish, laying it flat so sauce covers everything evenly.
- Pour Sauce Over:
- Drizzle your sauce all over the chicken, making sure each piece gets covered.
- Spoon Sauce While Cooking:
- While it bakes, every 15 minutes spoon the thickening sauce back over the chicken pieces.
 Pin it
When I was little, my grandma always put a bit of pineapple juice in her sweet and sour mixture. That faint tropical hint has become my hidden weapon, bringing an extra flavor level that makes this dish uniquely mine.
Ideal Companions
Round out your Asian-inspired feast by serving your sweet and sour chicken with soft jasmine rice that soaks up all that amazing sauce. Throw in some steamed broccoli or sugar snap peas for color and crunch.
Make It Your Own
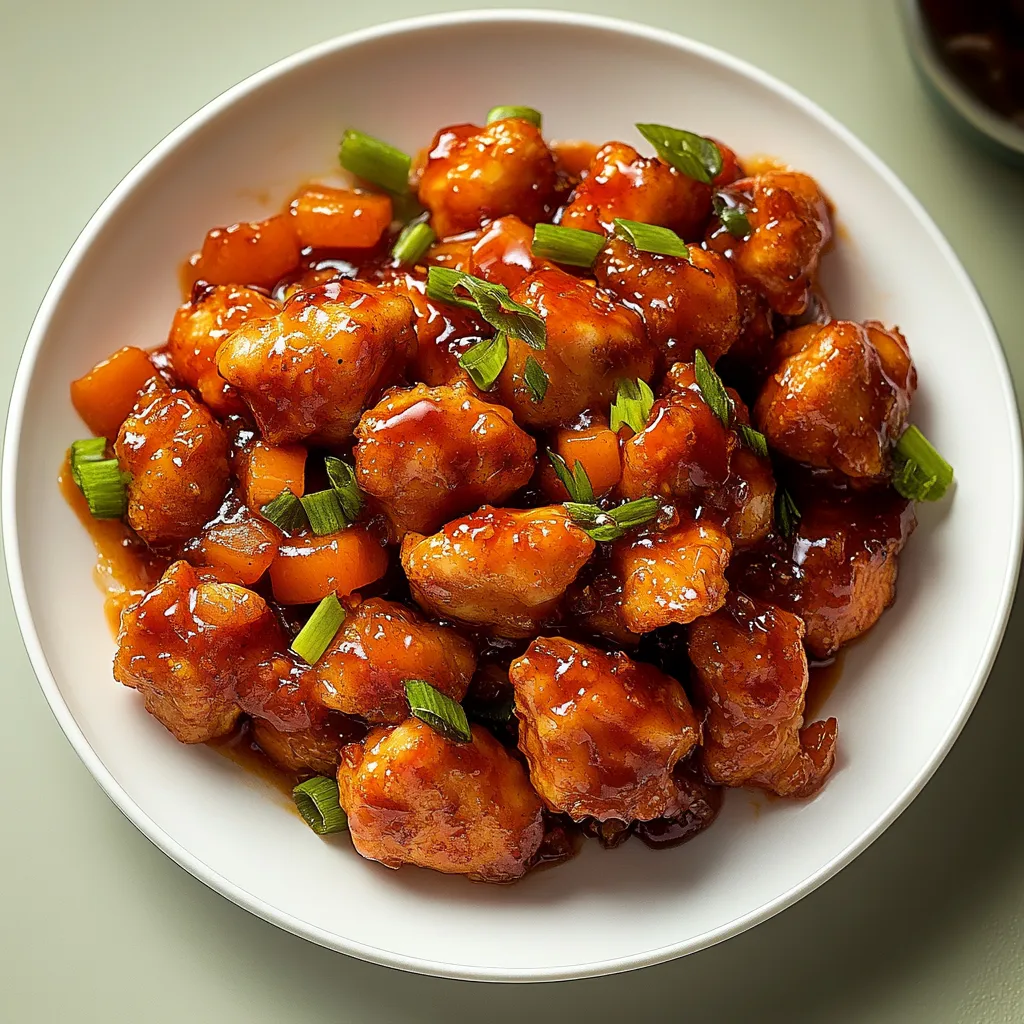
Switch up this flexible dish by tossing in bell peppers and onions for the final 15 minutes of baking, or mix in pineapple bits for a taste of the tropics. For something lighter, try using chicken strips and cutting back the sugar by 25 percent.
Saving The Leftovers
Put any extra chicken in a sealed container for up to three days. When you warm it up, add a tiny bit of water and cover it to keep the sauce smooth and stop the chicken from drying out.
 Pin it
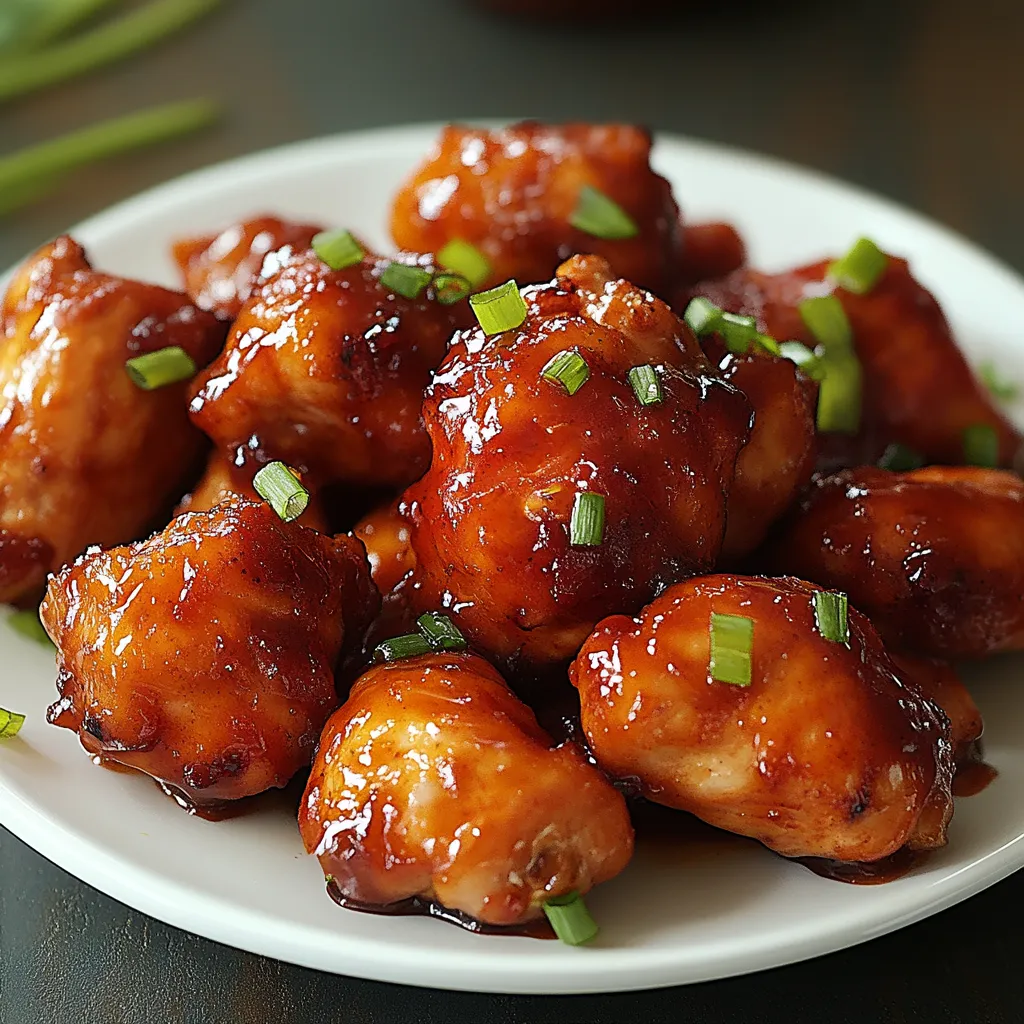
Through years of tweaking this dish, I've learned it's not just about following instructions - it's understanding how everything works together to create something truly fantastic. The way the sauce gets thicker and caramelizes, how the chicken stays juicy inside its crispy shell - these little things turn this sweet and sour chicken into a meal that creates lasting memories at your dinner table.
Frequently Asked Questions
- → Can I fix this sweet and sour chicken before I need it?
- You can get the chicken and sauce ready separately up to a day ahead. When it's time to eat, just mix them and bake as the steps say. But honestly, it tastes way better fresh.
- → What goes well with this sweet and sour chicken?
- Regular white rice, brown rice, noodles, or cauliflower rice all work great. Throw in some steamed broccoli, carrots, or peppers to make it a full meal.
- → Can I swap in chicken thighs instead of breasts?
- For sure, boneless skinless thighs work really well and they usually stay more moist than breasts. You'll cook them for the same amount of time.
- → How do I keep what's left?
- Pop it in a sealed container in the fridge for up to 3 days. Warm it back up in the oven at 325°F for the best results.
- → Why isn't my sauce getting thick?
- Don't forget to mix it every 15 minutes while it's baking. If it's still runny, just keep baking it uncovered until it gets as thick as you want.