
 Pin it
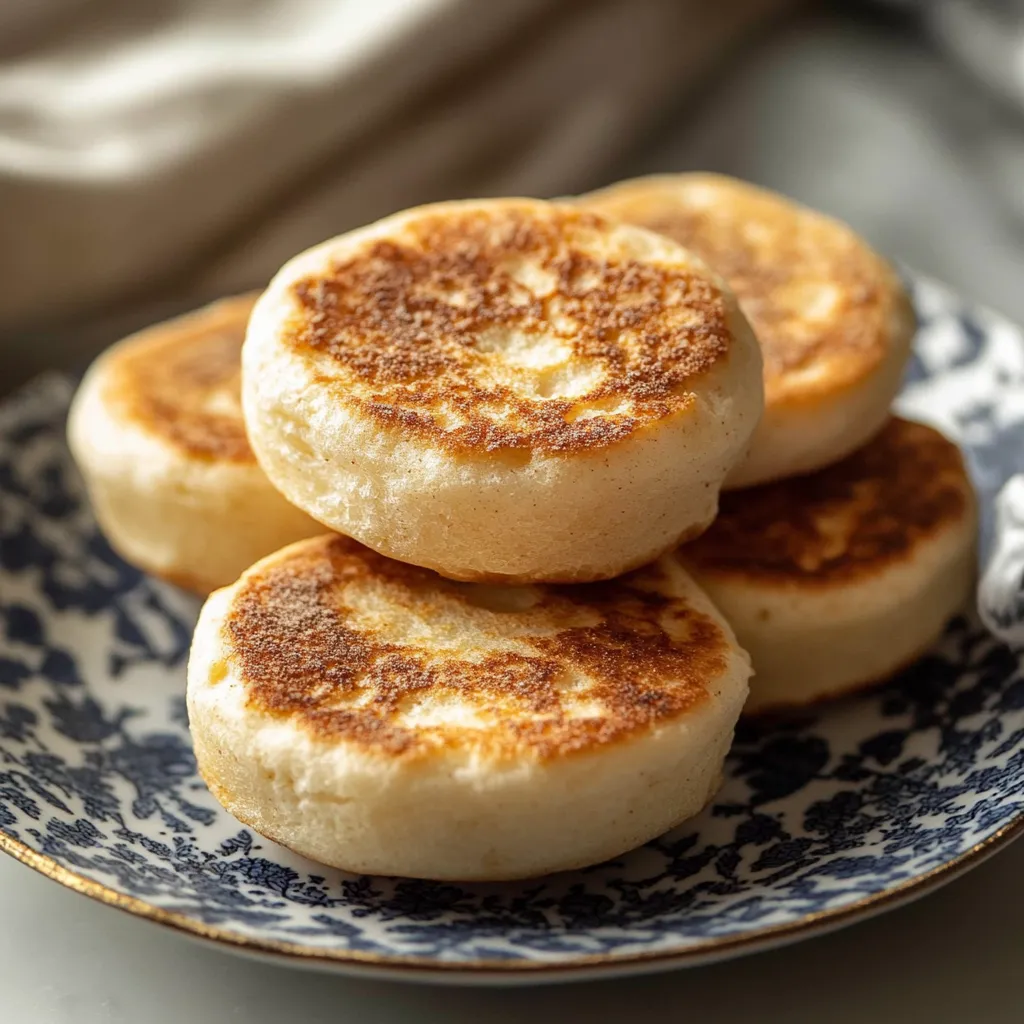
Enjoy making chewy, homemade English muffins with those sought-after holes and pockets. These fresh treats smell amazing and feel completely different in your mouth compared to what you buy at stores. The secret? Taking it slow—letting the dough sit and develop flavors naturally creates those air bubbles we're all after.
I learned how to nail English muffins at a cooking class—turns out it's all about being patient and watching your temperatures. The longer they take to rise, the tastier and airier they'll be.
Key Ingredients and Shopping Advice
- Flour: Grab unbleached all-purpose for top results
- Yeast: Active dry yeast that's fresh works most reliably
- Milk: Go for whole milk to make them soft and rich
- Butter: Pick unsalted so you can control the salt yourself
- Cornmeal: Medium-ground creates that fantastic outer texture
Step-by-Step Cooking Guide
- Step 1: Get Your Yeast Going Right
- Check milk warmth on your wrist. Watch for bubbles forming at the edges. Don't rush—wait for foam to develop. Keep everything warm throughout.
- Step 2: Work the Dough Properly
- Blend until it gets stretchy. Try the window test to check readiness. Don't dry it out completely. Wrap well as it rises.
- Step 3: Form Them Carefully
- Be gentle to keep air inside. Cut with even pressure. Sprinkle cornmeal everywhere. Put them apart from each other.
- Step 4: Cook Just Right
- Keep heat at medium-low. Don't squish them down. They should turn golden brown. Cut one open to check it's done inside.
My grandma always told me, "You can't rush good muffins" - and that taught me to be patient while they cook.
 Pin it
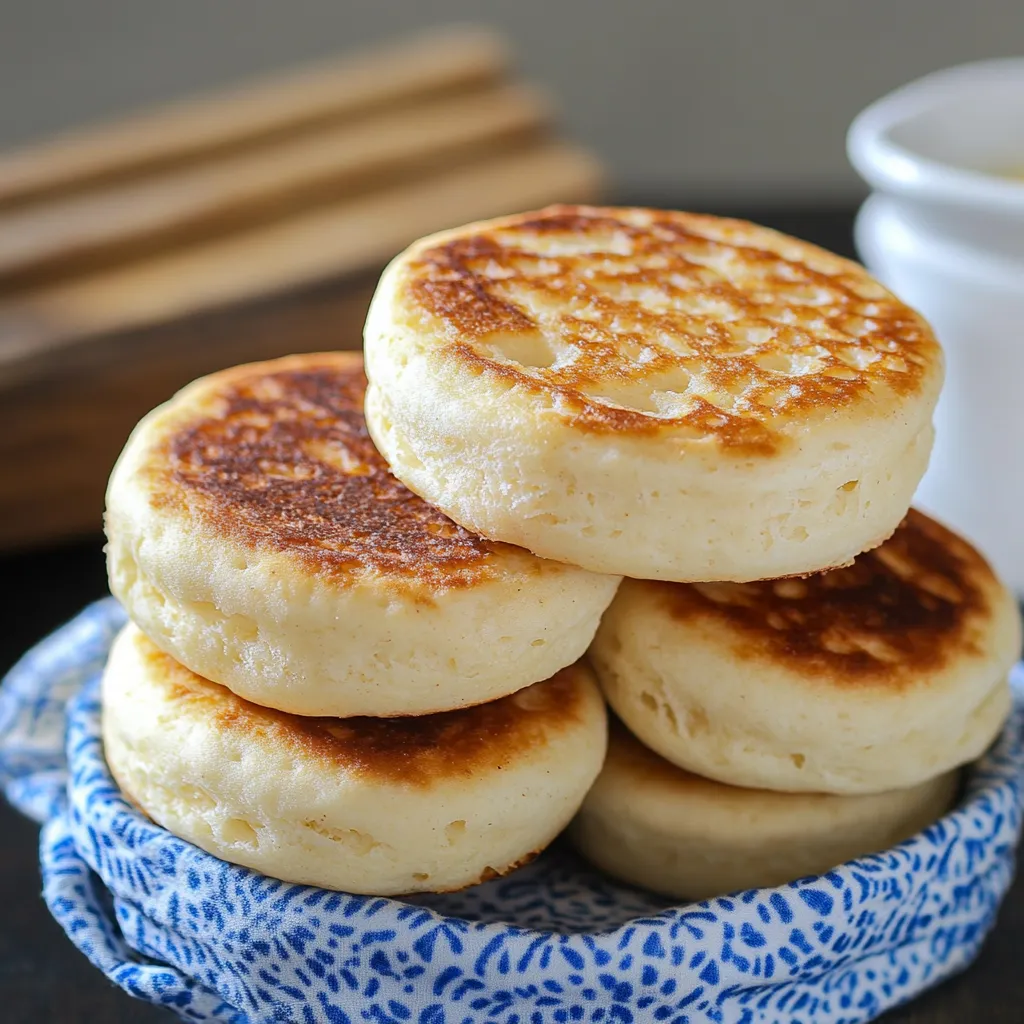
Mastering Heat Control
After making batch after batch, I've found that getting temperatures right makes all the difference: How warm your liquids are affects the yeast. The room temperature changes how fast dough rises. Pan heat determines how they cook. Even how cold or warm your ingredients are matters for the end result.
Prep-Ahead Strategies
- Mix your dough before going to bed
- Let it rise slowly in the fridge overnight
- Form and cook them fresh when you wake up
- Freeze extras after cooking for quick breakfasts
Fixing Common Problems
- If they're too heavy inside, let them rise longer next time
- If they're still raw in the middle, turn heat down and cook slower
- If the bottoms get too dark, use less heat and more cornmeal
- If you don't see enough air pockets, add a touch more water to your dough
Good-For-You Benefits
Way fewer additives than store versions. You pick what goes in them. They give you lasting energy from complex carbs. Works with whole wheat flour too.
The first time my kid helped make these, she couldn't believe how the flat circles puffed up into muffins. We now do this every Saturday morning.
 Pin it
I've spent years tweaking these English muffins, and I've realized success comes from honoring each step. Watching the yeast work its magic, seeing how the dough changes as it rests, and the joy of cracking open a hot muffin to find perfect air pockets inside—it's so satisfying. Whether you're putting together a fancy breakfast with eggs or just slapping on some butter, these homemade muffins will take your morning to another level.
Frequently Asked Questions
- → Why do my English muffins need to rise twice?
- Your first rise builds flavor and gives structure, while letting them rise again after shaping helps create all those tiny holes inside that everyone loves.
- → Can I make the dough ahead of time?
- Absolutely, you can stick the dough in the fridge overnight after it rises the first time. Just let it sit out about an hour before you shape it.
- → What's the best way to split English muffins?
- Grab a fork and poke it around the middle, then pull the halves apart instead of cutting them. This gives you more of those little pockets.
- → Why are my English muffins burning?
- You've probably got the stove too hot. They need to cook really slowly on very low heat so they cook inside without burning outside.
- → How do I store homemade English muffins?
- Put them in a sealed container and they'll last 3-5 days on your counter, or you can freeze them for up to 3 months.
- → Why do we use cornmeal on the outside?
- Cornmeal stops them from sticking and adds that classic crunch on the outside that makes English muffins special.