
 Pin it
In my house, we've always valued the tradition of burger-making, and I've come to realize that sliders add something special to every get-together. These tiny cheeseburgers deliver all the taste of regular burgers in cute, party-sized bites that always get folks smiling around the dinner table.
I've brought these to so many family events and watched even the fussiest eaters grab another one. When you mix juicy beef with melted cheese, my guests can't help but be impressed, which is why these little burgers are my favorite thing to make when company's coming.
Must-Have Ingredients Breakdown
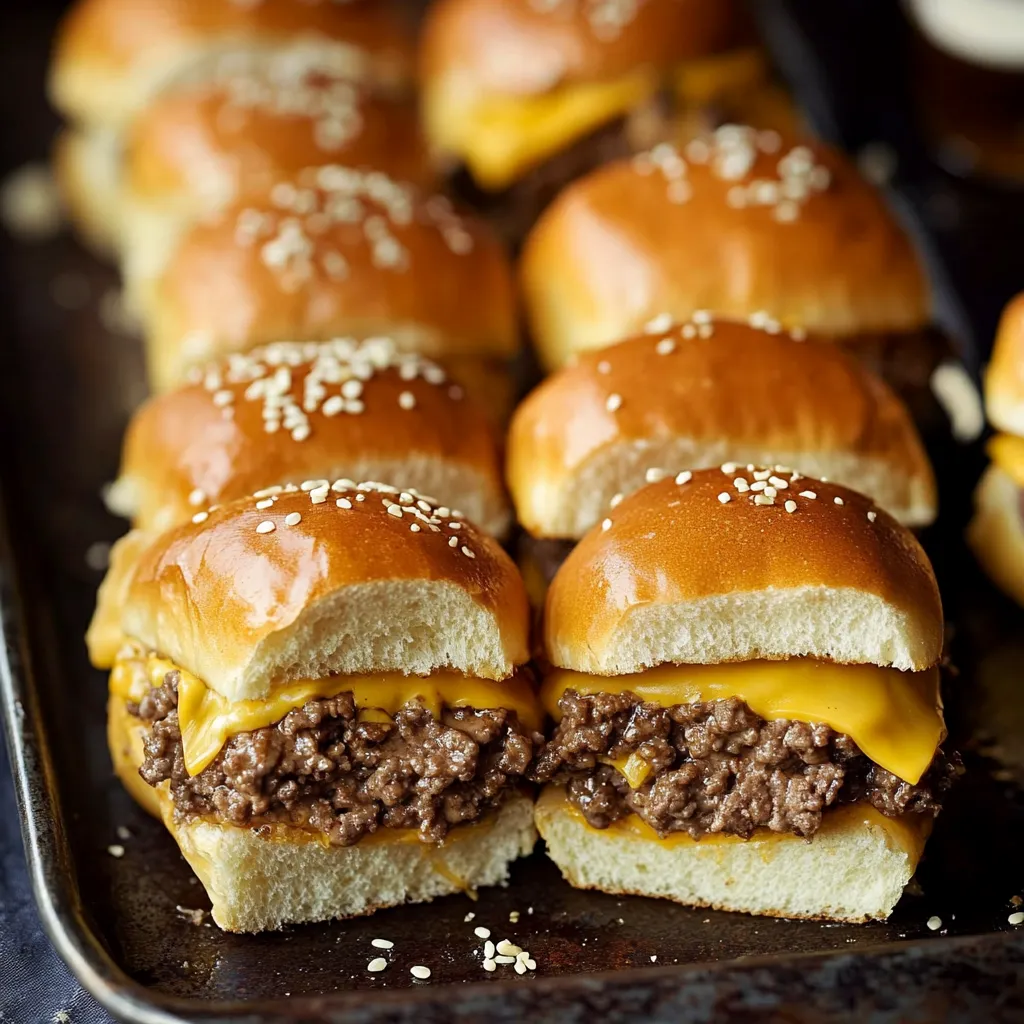
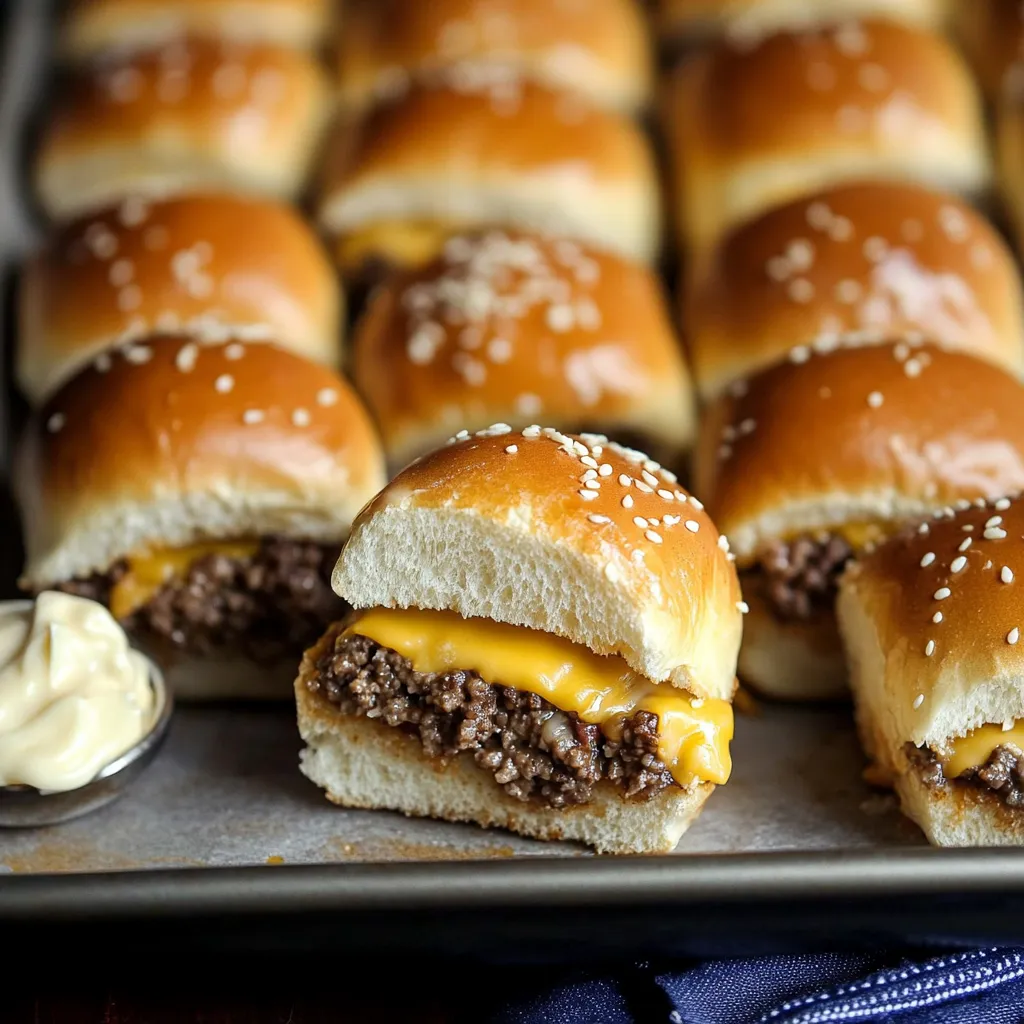
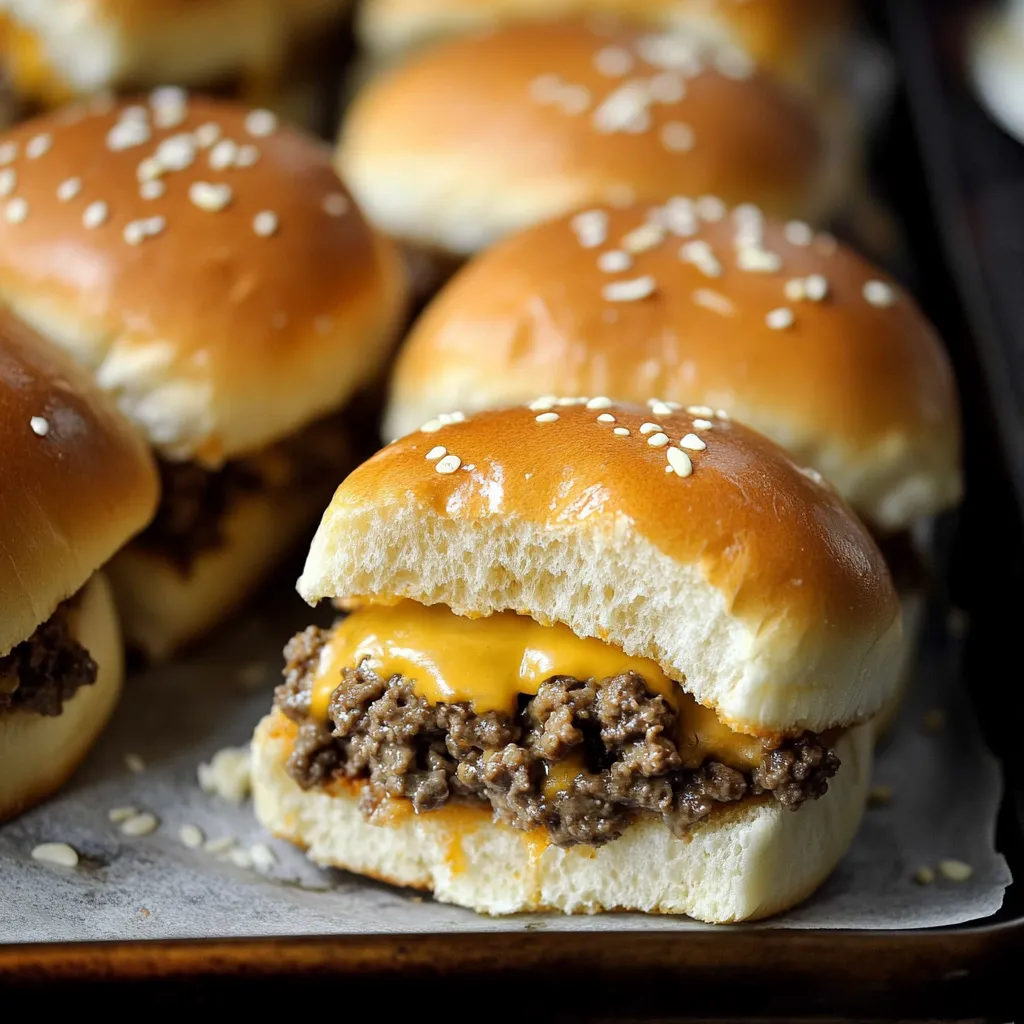
- Ground beef (80/20 blend): Gives you that perfect mix of taste and juiciness that makes everyone want another slider.
- Sweet Hawaiian rolls: Form a soft, puffy base that works so well with the savory stuff inside.
- American cheese: Delivers that familiar melt that takes you back to burgers from your childhood.
Kitchen Wizardry Steps
- Starting Setup:
- Take your rolls out while they're still connected and cut them across with a bread knife. This way everything stays lined up when you put it together.
- Beef Mix Magic:
- Cook your ground beef in a big pan, breaking it into tiny, similar-sized bits. Toss in some finely chopped onions and let their sweetness seep into the meat.
- Perfect Stacking:
- Put the bottom part of your connected rolls in a baking dish. Cover with cheese so every bit gets some for the perfect melt.
- Putting It All Together:
- Spread your flavored meat mix evenly on top of the cheese. Add another cheese layer and finish with the top half of your rolls.
My grandma always told me the key to amazing sliders was getting the right amount of meat for each bun, and after making these for years, I totally agree. We won't use anything but that 80/20 beef mix in our family anymore.
Tasty Companions
Make your slider experience even better by adding some crunchy sweet potato fries or a cool cucumber salad on the side. These combos have become the talk of my weekend get-togethers.
 Pin it
Exciting Variations
Try mixing up different cheeses or throwing in some browned onions for a fancier flavor. My own favorite twist is adding some crushed garlic to the meat while it's cooking.
Storing Leftovers
Wrap any extra sliders in aluminum foil and keep them in your fridge for up to three days. Just warm them for 10 minutes in a 350°F oven and they'll taste almost freshly made.
I've spent years getting this recipe just right, and I've noticed these sliders bring folks together like magic. They show everything I think cooking should be about: easy to make, super satisfying, and fun to share with people you care about.
Creating The Ultimate Topping
Last summer I made it my mission to find the best sauce for these sliders. I found out that mixing mayo with sweet pickle relish and a bit of smoked paprika makes something that goes perfectly with the juicy meat. My family helped taste test, and we learned that if you let the sauce sit in the fridge for at least an hour, all the flavors blend together really nicely.
Getting The Heat Just Right
I've figured out that timing matters so much for these sliders. From making them at tons of parties, I now know that you need to heat your oven to exactly 350°F and wait until it's fully hot before putting them in. The sweet spot for getting perfectly melted cheese and a slightly crispy top is exactly 15 minutes of cooking time.
Flavor-Boosting Secrets
While playing around in my kitchen, I found that adding flavors in layers makes everything taste better. Splash some Worcestershire sauce while the meat cooks, then mix in some garlic powder and onion powder right before you put it all together for amazing flavor in every bite. My mom taught me to add just a tiny bit of brown sugar to the meat - it brings out all the natural flavors without making anything taste sweet.
Picking The Right Rolls
I've tried so many different kinds and found that the rolls you pick really matter. Hawaiian rolls are great, but brioche slider buns can make everything taste extra rich. You want something soft that won't fall apart with all the juicy filling. I learned through lots of tries that if you lightly toast the inside of the bottom buns, they won't get soggy when you add all the other stuff.
Party Planning Tips
These sliders have become what everyone expects me to bring to neighborhood parties. I've worked out that one batch (12 sliders) feeds about 6 people for dinner or 12 people as a snack. For bigger parties, I make several batches one after another, and keep the finished ones warm by wrapping them in foil and putting them in a low-temp oven.
 Pin it
After making these sliders more times than I can count, I really love how they combine everything great about comfort food: they're easy to make, they taste amazing, and they're fun to share. Whether you're watching the big game with friends or feeding your hungry family, these sliders always hit the spot. The mix of carefully picked ingredients and tried-and-true cooking tricks makes something truly amazing that folks just can't resist.
Frequently Asked Questions
- → Can I get these sliders ready ahead of time?
- Sure! Make the beef mixture and sauce the day before. Assemble and bake just before you serve them for the tastiest results.
- → Which cheese melts best for these sliders?
- Go for American cheese—it melts perfectly and keeps things together. Boar's Head is a great choice, but any quality American cheese works just fine.
- → What makes Hawaiian rolls so good here?
- They're fluffy, slightly sweet, and hold their shape when baked. Plus, they’re easy to pull apart, making them slider-friendly.
- → How do I stop the buns from overbaking?
- If the tops are browning too quickly, just cover them lightly with foil to keep them from burning.
- → Can I make a larger batch of sliders?
- Absolutely! Just double everything for 24 sliders. Use two pans or a bigger tray to fit them all.