
 Pin it
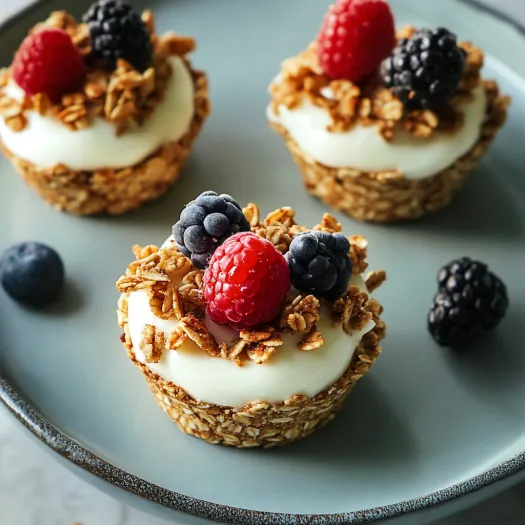
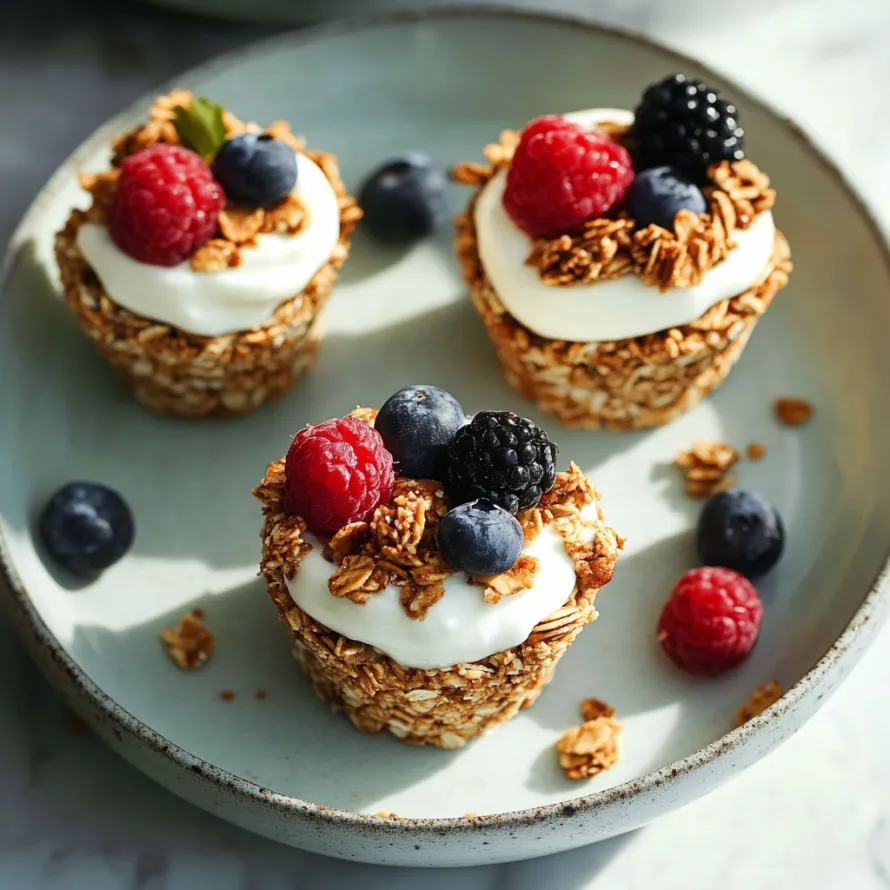
Switch up your mornings with these tasty granola cups that turn a regular yogurt into a grab-and-go treat. These portable oat and nut butter cups have a crunchy bite and are perfect for holding a spoonful of creamy yogurt and juicy fruit. Skip those store-bought bars with tons of sugar and preservatives. Instead, make these simple cups using just a few good-for-you ingredients and feel great about what you're eating every day.
I first put this together on a crazy busy week when I needed healthy breakfasts fast but had zero time to cook in the morning. After some trial and error, I figured out just the right amount of each ingredient so my cups held up well and tasted great. Now they're my quick fix for stress-free mornings.
Easy Core Ingredients
- Cinnamon: Adds a gentle spice and depth to the mix.
- Vanilla extract: Boosts all flavors with a nice aroma.
- Maple syrup: Brings a natural sweetness and bold flavor.
- Peanut butter: Helps hold everything together, adds healthy fat and protein.
- Rolled oats: Give structure and a good dose of fiber.
Filling Essentials
- Fresh fruit: Brings bright colors, sweetness, and a boost of vitamins.
- Yogurt: Makes a smooth middle for a filling meal.
Effortless Preparation
- Assembly Time:
- Spoon yogurt and fruit into the cooled granola cups right before eating.
- Let Them Rest:
- Cool the cups for 5 minutes in the pan, then pop them onto a rack.
- Get Baking:
- Slip the cups into the oven for 12-15 minutes until you see a light golden color.
- Mold Your Cups:
- Push the oat mix really well into 6 muffin holes, shaping into cups as you go.
- Start Off:
- Fire up your oven to 350°F (175°C) and grease a regular muffin tray.
 Pin it
Fun Twists
If you’re a chocolate fan, toss in a little cocoa powder and spread chocolate hazelnut butter in your base. Love apples? Dice up dried apples, add some extra cinnamon, and you're all set. Craving something beachy? Swap in coconut yogurt and coconut butter for a tropical spin.
Festive Ways to Serve
Set up a DIY granola cup station with all kinds of toppings and yogurts. Stack them on a multi-layered platter with mint for a pretty touch. To make bite-sized versions, use a mini muffin tin to bake up little treats.
Smart Storage
Keep your unfilled cups in an airtight box at room temp for five days. Want to stash them longer? Wrap each one in parchment and freeze for a month. If they get a bit soft, warm them in a 325°F oven for a few minutes to crisp them up again.
Topping Ideas
Whip up a berry cheesecake by stirring cream cheese and lemon zest into your yogurt. Make an apple pie parfait by using yogurt sweetened with maple syrup and adding spiced apples. Go tropical with mango yogurt and a spoonful of passion fruit on top.
Cooled cups make a huge difference—learned that after one rushed batch made my yogurt run everywhere. To avoid soggy messes, I always bake the cups the night before and let them cool all the way. Now they’re just right every time, even if I’m busy in the morning.
 Pin it
Final Takeaway
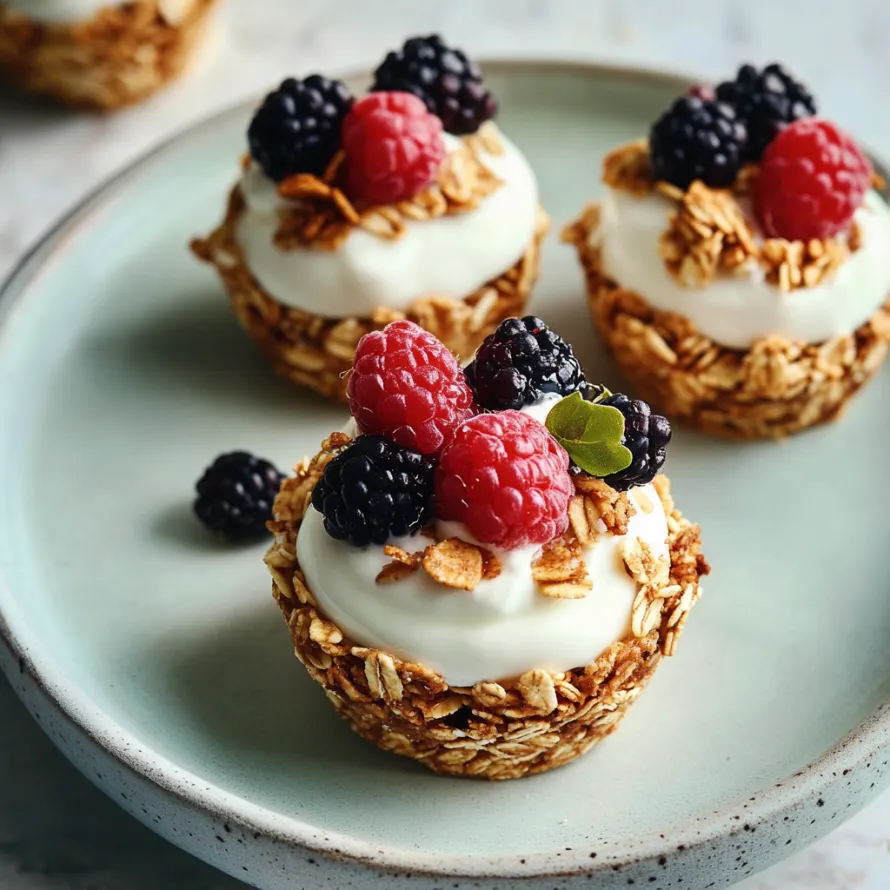
Granola yogurt cups are a breeze to make and are packed with flavor and good stuff. You get a balanced bite whether you’re rushing out the door or kicking back at brunch. These simple cups make breakfast easier, tastier, and a lot more fun.
Frequently Asked Questions
- → Can I use a different nut butter instead of peanut butter?
- For sure! Swap in whatever nut or seed butter you like best. Almond butter is super mild and cashew butter makes things creamier. Skip nuts? Grab sunflower seed butter or tahini. Just make sure it’s the same thickness as peanut butter so your cups stick together right.
- → How do I store these granola cups if I'm meal prepping?
- You can pop the unfilled cups in a container with a lid and keep them on the counter for a few days or stash them in the freezer for months. Wait until right before you eat to load them up with yogurt and fruit or they’ll get soggy. Take yogurt along in a tiny container and fill your cup when you’re ready to snack.
- → Can I make these granola cups gluten-free?
- Totally! Just pick oats that are labeled gluten-free since regular ones can get mixed with wheat during packaging. Everything else is already gluten-free, so it’s an easy swap if you’re sensitive or have celiac.
- → What types of yogurt work best in these cups?
- It’s up to you! Greek yogurt is thick and packs more protein, while regular yogurt is velvety. Choose coconut, almond, or soy yogurt for a non-dairy bite. Flavored yogurts are good for sweetness, but plain with fresh fruit is best if you want less sugar.
- → Why did my granola cups fall apart when I removed them from the muffin tin?
- If your cups broke apart, you might’ve needed more binding or a bit longer in the oven. Be sure your nut butter is smooth and well stirred, not separated. Let the cups cool in the pan for a good 5 minutes—they firm up as they cool. If things seem crumbly, just mix in a bit more nut butter or syrup before baking.
- → Can I add other ingredients to the granola mixture?
- Absolutely! Throw in some chopped nuts, seeds like pumpkin or flax, raisins, coconut, or even chocolate chips before you bake. Just keep extras around a quarter cup so the cups don’t fall apart. Test and tweak for your next batch if needed.