
 Pin it
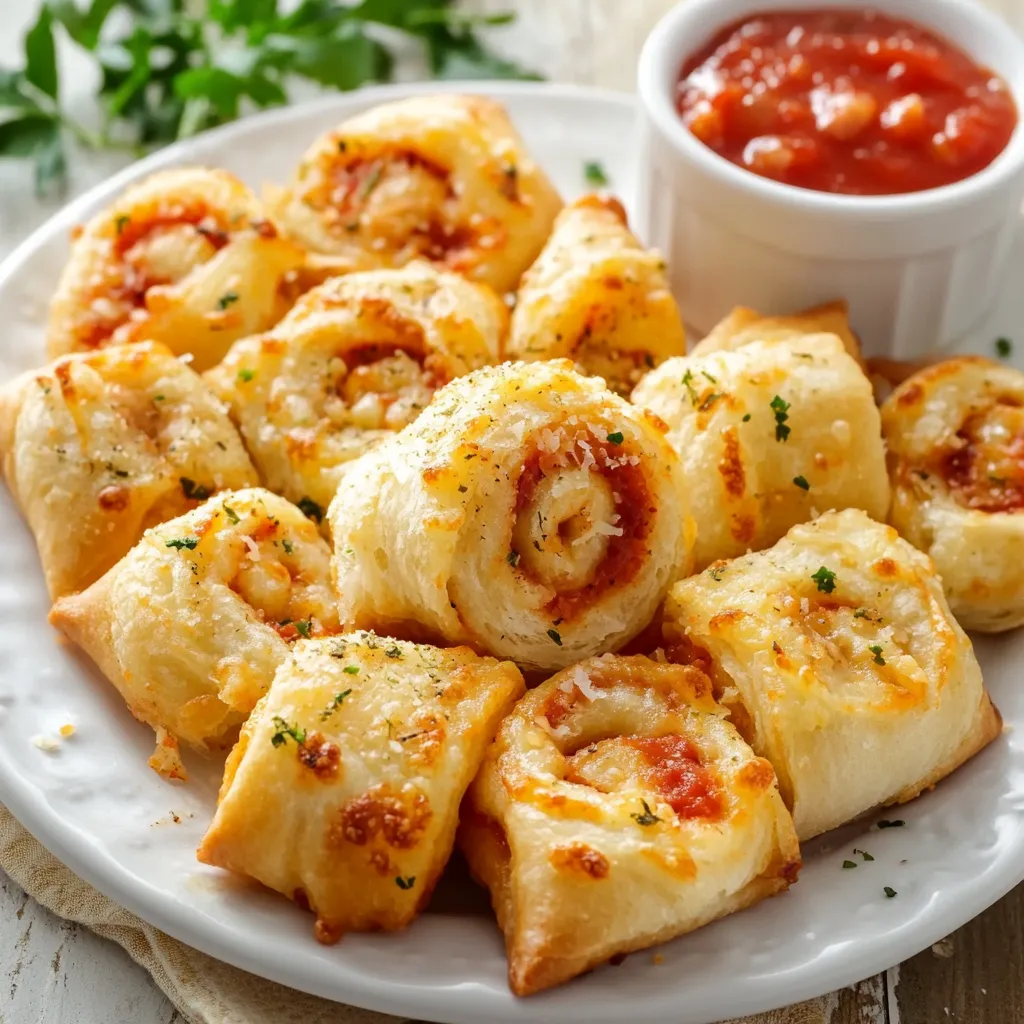
The smell of homemade pizza rolls wafting through my kitchen always puts a smile on my face. Stuffed with gooey mozzarella and pepperoni, then topped with buttery garlic goodness, these handheld treats never disappoint. I've tweaked countless pizza recipes over the years, but these little gems have earned their spot as my family's favorite for both everyday meals and special get-togethers.
I made a batch of these for my neighbor's birthday party last week. The minute they came out of the oven, everyone followed their noses to the kitchen, and the rolls vanished in seconds flat. Even the fussiest eaters grabbed extras.
Must-Have Pizza Roll Ingredients
- Pizza Dough: Works as the wrapper for all your tasty fillings, giving you that chewy bite you crave. Go with room temp dough for easy rolling
- Whole Milk Mozzarella: Delivers that amazing stretchy pull when you take a bite. Skip the pre-shredded stuff and grate it yourself
- Premium Pepperoni: Look for thin-cut, quality meat that'll spread flavor through every roll
- Fresh Garlic Butter: Makes the outside golden and fragrant, adding extra taste to each mouthful
- Italian Seasoning: Brings all those pizza flavors together with a mix of traditional herbs
Crafting Delicious Pizza Rolls
- Get The Dough Ready:
- Stretch your pizza dough into a big rectangle on a floured countertop, making sure it's all the same thickness. Give it 5 minutes to relax if it keeps shrinking back as you roll.
- Layer Your Toppings:
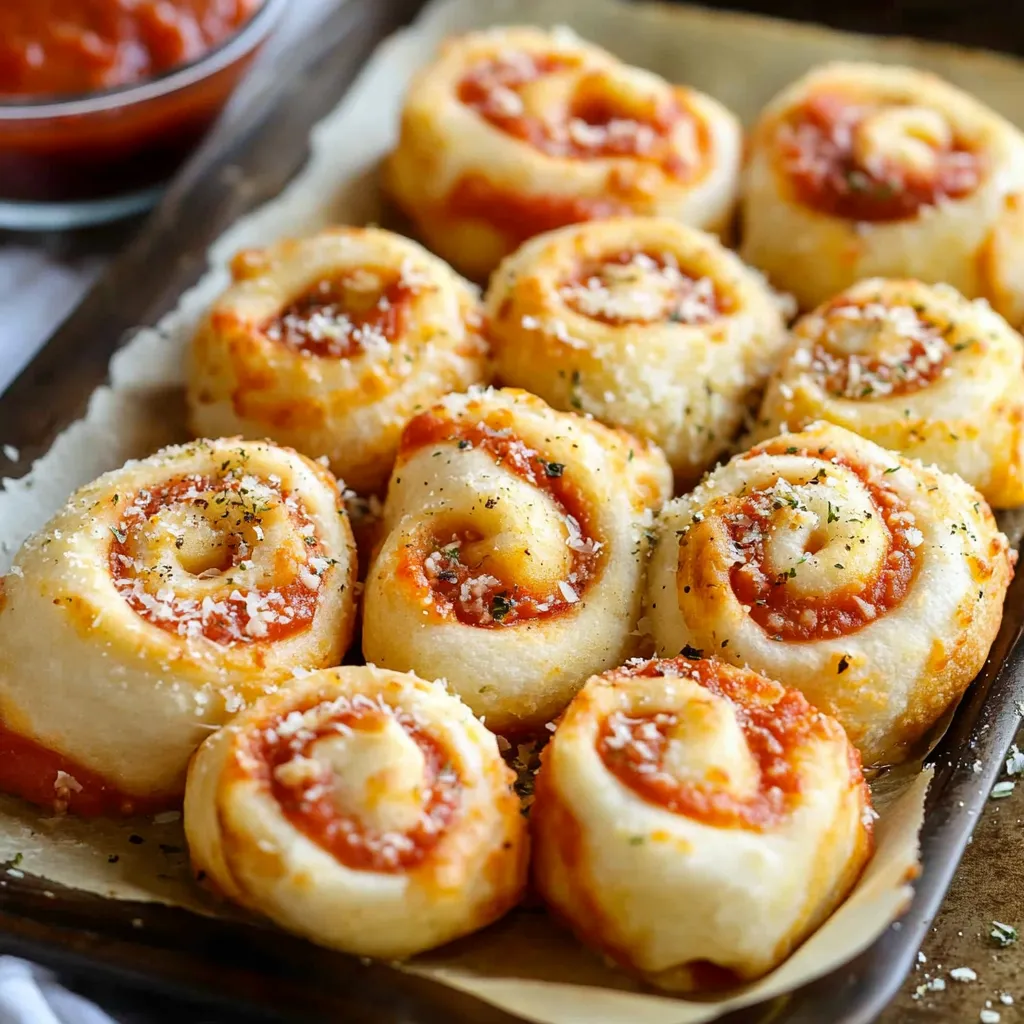
- Sprinkle fresh-grated mozzarella all over, but leave an inch empty around the edges. Lay out pepperoni pieces so they overlap slightly, making sure every bite will get some meat.
- Form The Roll:
- Begin at the long side and slowly roll everything into a tight log, keeping even pressure the whole way. Pinch the seam closed really well so cheese won't leak out during baking.
- Cut And Position:
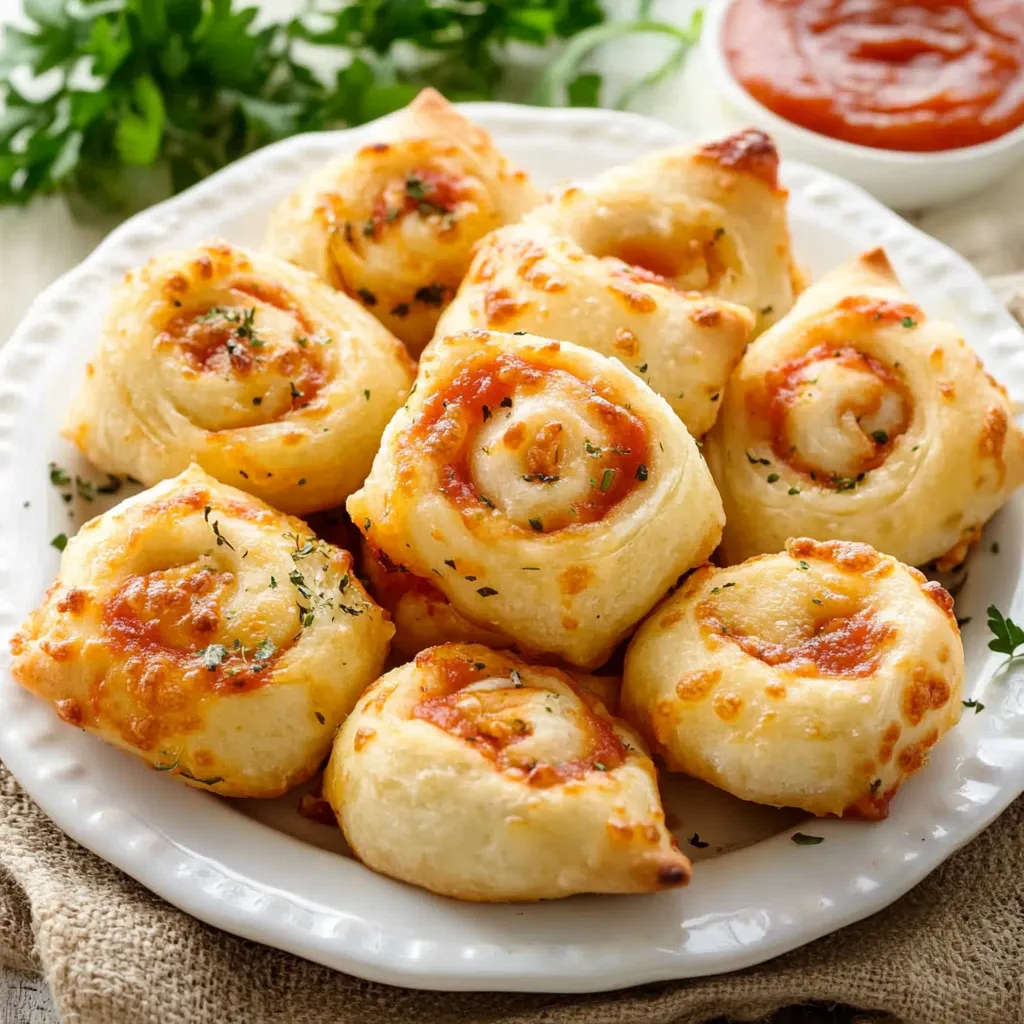
- With a sharp knife, slice the log into even pieces, then put them on your baking sheet with room between each one. Brush them all over with your garlic butter mix.
I spent lots of time in my Italian grandma's kitchen as a kid, where she taught me that good cheese makes all the difference in pizza rolls. She wouldn't touch anything but whole milk mozzarella, freshly grated right before using it. Trust me, you'll notice how much better it melts and tastes - it's what creates that perfect stringy cheese pull everyone loves.
 Pin it
Achieving Wonderful Pizza Roll Texture
Getting that just-right texture comes down to how you handle your dough. Use steady pressure when rolling to get the thickness even throughout. This way, everything cooks at the same rate with no doughy or burnt spots. I've learned that working with dough that's sat out for a bit makes everything so much easier since it stretches better.
Prep These Ahead Of Time
These rolls work with any schedule. You can get them all ready to bake, then stick them in the fridge overnight. Just pull them out about 30 minutes before cooking so they can warm up a bit. They're so handy for surprise visitors or planned parties. I usually make two batches and freeze some for later.
Great Foods To Serve With Them
Try these rolls with a fresh Caesar salad topped with crunchy homemade croutons. A small dish of warm marinara sauce takes each bite to the next level. In summer, I love them with a simple cucumber and tomato mix drizzled with sweet balsamic.
Switch Up Your Flavors
Make these rolls your own with different fillings. Try them with crumbled Italian sausage instead of pepperoni, add some cooked mushrooms, or tuck in fresh basil. For meat-free options, go with roasted veggies and mix fontina with your mozzarella. You can really play around with what goes inside.
Storage Tips
Any leftover rolls will stay good in a sealed container in your fridge for three days. When you want to eat them again, wrap in foil and warm them at 350°F for about 10 minutes until they're hot through. Try not to use the microwave as it tends to make them tough.
 Pin it
These pizza rolls have become way more than just food in my house. They're now part of our family story - they mean comfort, togetherness, and sharing good times. Whether I'm making them for hungry kids after school or as the main attraction at a casual dinner with friends, these little bites bring everyone to the table, creating those special moments that make cooking feel worthwhile.
Frequently Asked Questions
- → Can I prepare these ahead of time?
- Absolutely! Assemble the bites and stick them in the fridge for up to a day. Brush on butter just before baking.
- → Can I use other fillings?
- Mix it up with ham, sausage, veggies, or even mushrooms. Just don’t overpack to keep them easy to roll.
- → How should I store leftovers?
- Pop the extras in a sealed container in the fridge for 3 days max. Warm them up in the oven or microwave before eating.
- → Can I freeze these snacks?
- Definitely! Freeze baked rolls in an airtight bag for up to 2 months. Thaw overnight and reheat in the oven before serving.
- → What do I do about cheese leaking out?
- Roll them tightly, pinch those seams, and don’t put too much filling inside. Make sure to bake seam-side down too.